Hair ideas / Everyday styles
Braided hairstyles for beginners: three-strand, Dutch and fishtail
Learning how to braid starts with mastering finger placement and tension control on basic three-strand plaits before moving to inverted Dutch braids and two-section fishtails.
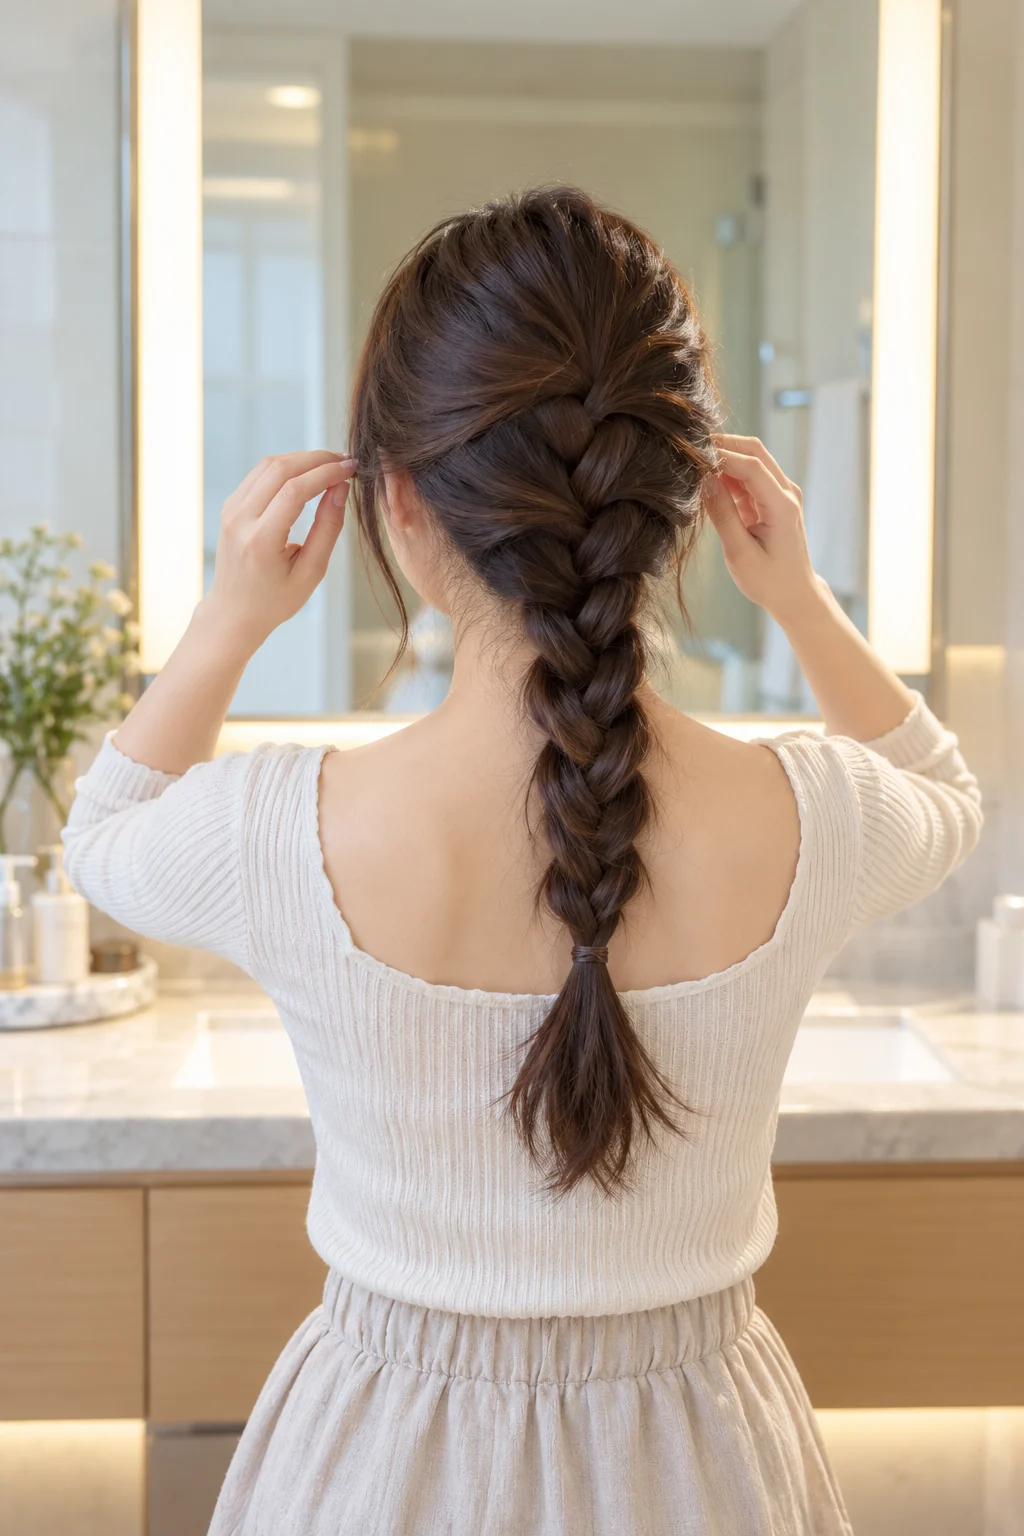
Three rules
Start here.
- Master the basic three-strand braid in a loose side ponytail first to train your fingers in consistent crossing motions before adding scalp hair.
- Keep your hands close to the head and maintain gentle, even tension as you add new hair to Dutch and fishtail braids to prevent sagging and loose bumps.
- Practice each new braiding technique for ten minutes a day over the course of a week to build muscle memory in your hands.
A styling reference, not a product photo.
What defines it
The basics
Braided hairstyles for beginners focus on building finger dexterity, muscle memory, and tension consistency before attempting intricate multi-strand designs. A braid is simply an interlocking pattern created by crossing sections of hair over or under one another in a repeatable sequence. When you are just starting out, the primary hurdle is not artistic ability, but rather hand fatigue and keeping track of which section goes where without looking in the mirror constantly.
The progression from a basic three-strand braid to a Dutch braid and finally a fishtail braid covers the core techniques used in almost all braided hairstyles. The three-strand braid teaches you how to maintain even tension across your hands. The Dutch braid introduces adding hair from the scalp into a moving pattern, often called a French braid variation where sections cross underneath instead of over. The fishtail braid shifts your focus from three distinct chunks of hair to two halves, using small cross-sections from the outer edges to build a tight, woven texture.
This guide breaks down each style in order of difficulty so you can build confidence incrementally. You do not need professional tools or expensive styling products to learn. A paddle brush, a few snag-free elastic bands, and a mirror are all it takes to get started. By practicing each technique on a loose side section or a simple ponytail before trying a full head of hair, you can bypass the frustration that leads many beginners to give up.
Repeatable combinations
Formulas to try
- The foundational three-strand side braid
- Gather all your hair to one side over your shoulder and secure it with a soft elastic band just below the ear to hold the base steady. Divide the hair below the elastic into three equal sections and label them left, middle, and right in your mind. Cross the right section over the middle section so it becomes the new middle. Then cross the left section over the new middle section. Repeat this alternating over-crossing pattern down the length of the hair until you reach the ends, then secure with another elastic. This controlled setup removes the panic of hair slipping out of your hands while you learn the basic rhythm.
- The basic Dutch braid with under-crossing
- Start with dry, brushed hair and take a small section at your crown, dividing it into three equal pieces. Instead of crossing the outer strands over the middle, cross them underneath the middle strand. On your second and third passes, pick up a small sliver of loose hair from the side of your head and add it to the outer strand before crossing it underneath the center. Keep your fingers as close to the scalp as possible when adding hair to avoid loose loops. Continue this under-crossing motion down to the nape of the neck, then finish with a standard three-strand under-braid to the ends.
- The two-section fishtail braid
- Pull your hair back into a low, loose ponytail and secure it with a hair tie. Split the ponytail into two equal left and right halves instead of three. Use the index finger of your left hand to grab a tiny quarter-inch section from the very outside edge of the right half, cross it over, and merge it into the inside edge of the left half. Repeat this by grabbing a tiny outer section from the left half and crossing it over to the right half. Alternating these small side-to-side crossings creates a dense, herringbone pattern. Secure the ends with an elastic and cut away the top hair tie if you want a softer look.
- The ponytail practice bridge
- If learning on loose hair feels overwhelming because strands keep escaping, practice your braiding on a thick ponytail or a synthetic doll hair mannequin first. A ponytail anchors the hair at the top, eliminating one variable while your fingers learn the crossing sequence. Once you can execute a clean three-strand or Dutch braid on a ponytail without looking down at your hands every second, move on to braiding loose hair starting directly from your hairline.
- The pancake texturizing technique
- After you finish securing any braid with an elastic band, gently pull outward on the outer loops of the braid starting from the bottom and working your way up to the top. This technique, known as pancaking, widens the braid and creates the illusion of thicker, fuller hair while hiding minor unevenness in your crossing. Be gentle as you pull so you do not yank individual hairs out of the weave; use your thumb and index finger to pinch each loop and flare it out slightly.
Your needs, your plans
Before you buy
- Hair texture and preparation
- Freshly washed hair is often too slippery and soft to hold a braid cleanly, especially for beginners whose tension tends to fluctuate. If your hair is very fine or freshly washed, work a small amount of lightweight styling mousse or texture spray through the dry strands before you begin. This adds grip and friction, which can help keep the sections from sliding out of your fingers mid-cross. If your hair is thick and coarse, a light leave-in conditioner or smoothing cream can help tame flyaways so you can see each section clearly.
- Arm fatigue and posture
- Learning to braid requires new motor skills, and your arms and shoulders will likely tire quickly during your first few sessions. Do not try to complete a complex hairstyle in one exhausting marathon. Practice for ten to fifteen minutes, then take a break to shake out your hands and reset your posture. Standing in front of a bathroom mirror helps, but sitting at a table with a hand mirror can also give you a better angle for checking your progress without straining your neck.
- Tangling and knot management
- As you pull sections across during a Dutch or fishtail braid, loose hair hanging below your hands can easily tangle with the active strands. Always run your fingers through the remaining loose hair below your hands before each cross to keep the sections separated. If a knot forms, stop immediately and use your fingers to gently tease it apart rather than pulling hard with the braid sections, which will tighten the knot and distort your weave.
- Patience with mirror coordination
- Working backward in a mirror creates an optical illusion that frequently trips up beginners. When you look in the mirror and think you need to move your hands to the left, your reflection shows the opposite. To overcome this, try practicing the three-strand and fishtail braids entirely by feel without looking in the mirror first. Once your fingers understand the physical rhythm without visual reliance, transitioning to mirror work for Dutch braids may become significantly less confusing.
From what you own
Build it and repeat it
Begin your braiding journey by setting aside ten minutes each day for targeted practice using the ponytail method. Do not try to create a complex hairstyle on your first day. Instead, tie your hair into a low ponytail, divide it into three sections, and practice the basic over-crossing motion until your hands move without hesitation. Once that rhythm feels automatic, move on to the two-section fishtail technique using the same ponytail anchor.
After you feel comfortable with the basic hand movements, graduate to free-flowing hair and tackle the Dutch braid. Accept that your first few attempts will look uneven or loose at the nape of the neck — this is a normal part of building muscle memory. Keep your sections uniform, maintain gentle tension, and use texture spray if your hair feels too slippery. By breaking the process down into distinct steps and practicing consistently, you can build the dexterity needed to create clean, polished braids on various hair types.
Shop the pieces
9 everyday styles pieces
Links open similar items, not the pictured ones.
-
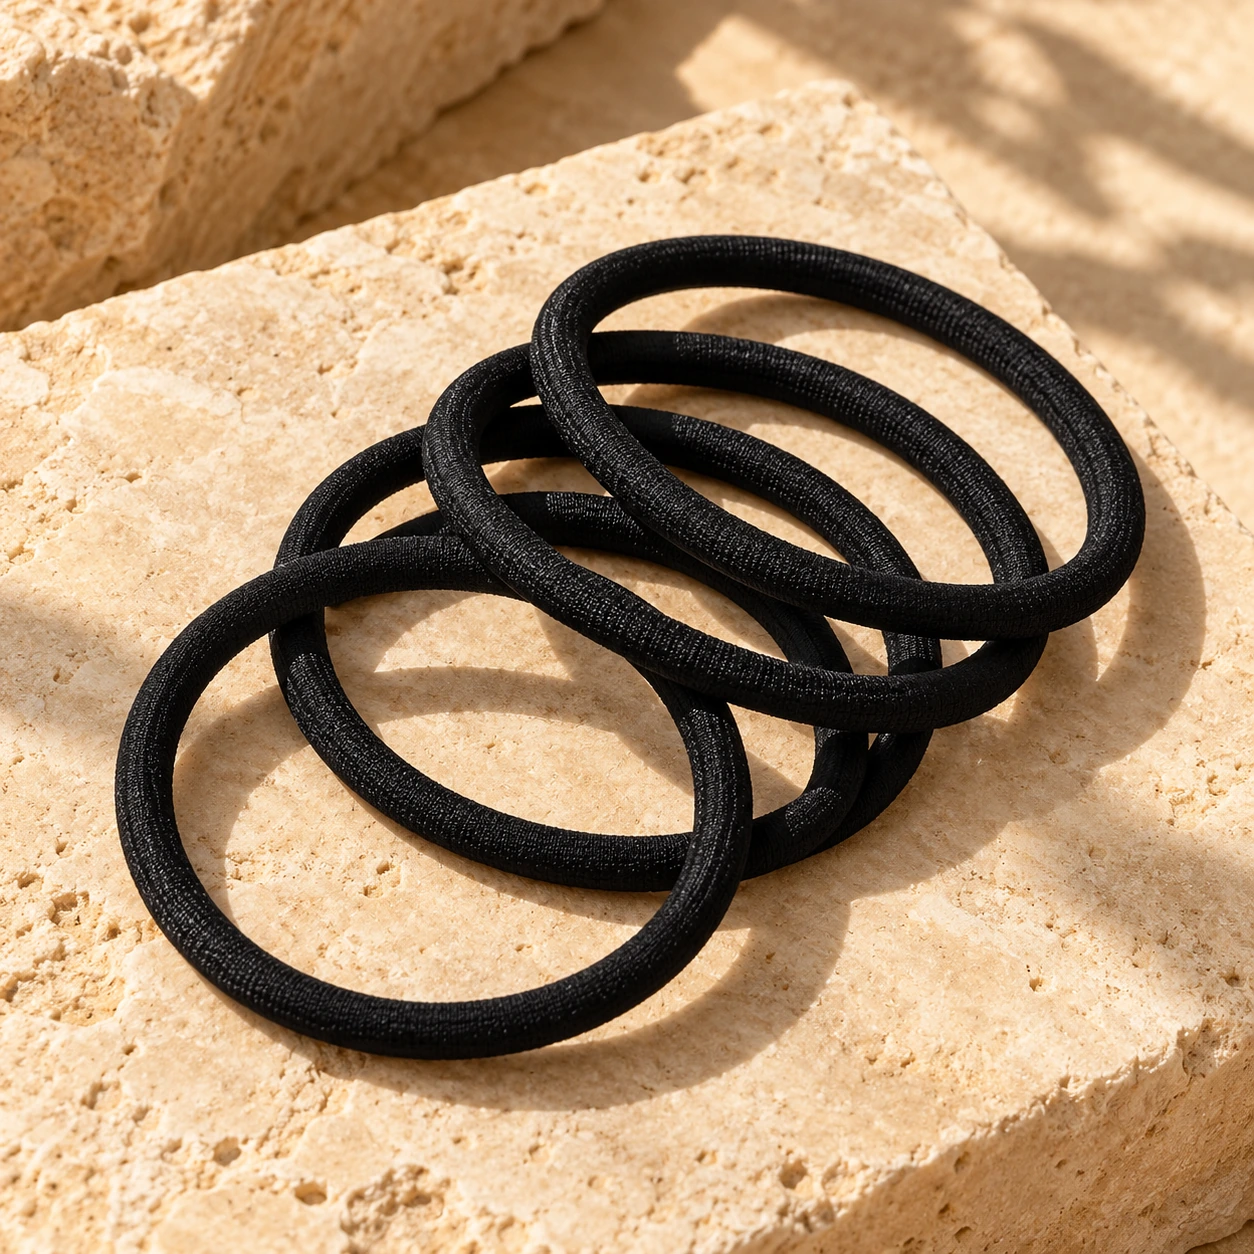
Goody Ouchless black 4 mm hair ties, 30 count
What to check
Similar black elastic ties for ponytails and hidden bun fastenings. No metal closure; 4 mm thickness. The reference does not identify a brand or prove that this is its hidden fastening.
-
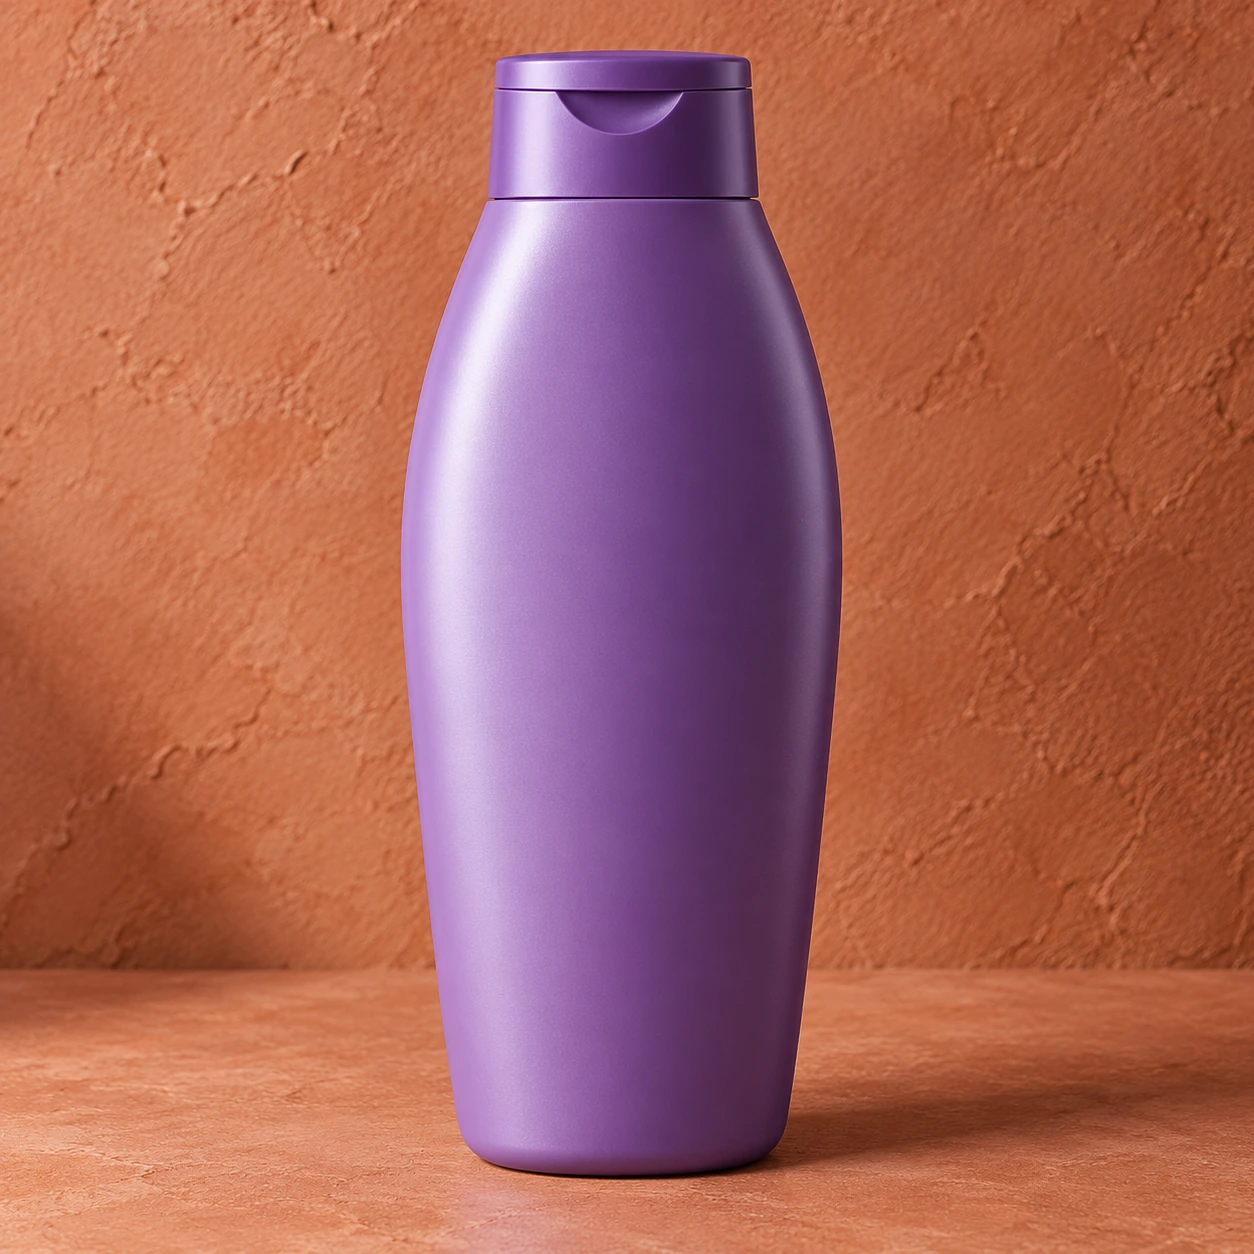
Clairol Professional Shimmer Lights purple shampoo, 8 fl oz
What to check
Optional purple toning shampoo for suitable blonde, highlighted or silver hair. It targets unwanted yellow tones; it does not bleach dark hair or reproduce the illustrated shade. This is the single 8 fl oz shampoo, not conditioner. Follow its label frequency and timing; compare ingredients and rinse carefully. Review feedback includes dryness and scent concerns.
-
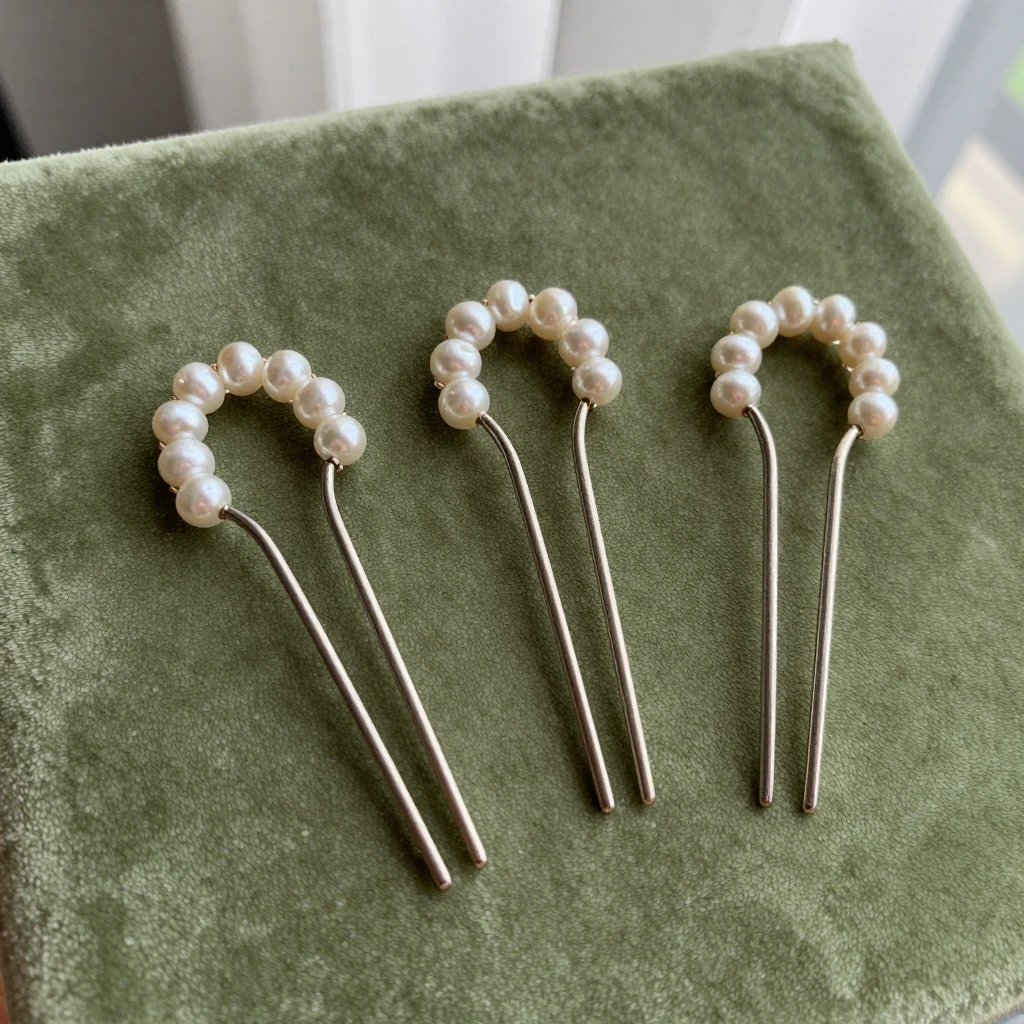
WILLBOND silver pearl-effect and crystal U-pins, 18 pieces
What to check
Similar decorative silver-tone U-pins with three faux pearls and small rhinestones, not the exact pictured pins. Listing size is about 3 by 0.4 inches. Tuck into an already-secured style and remove gently; one visible review reports snagging.
-
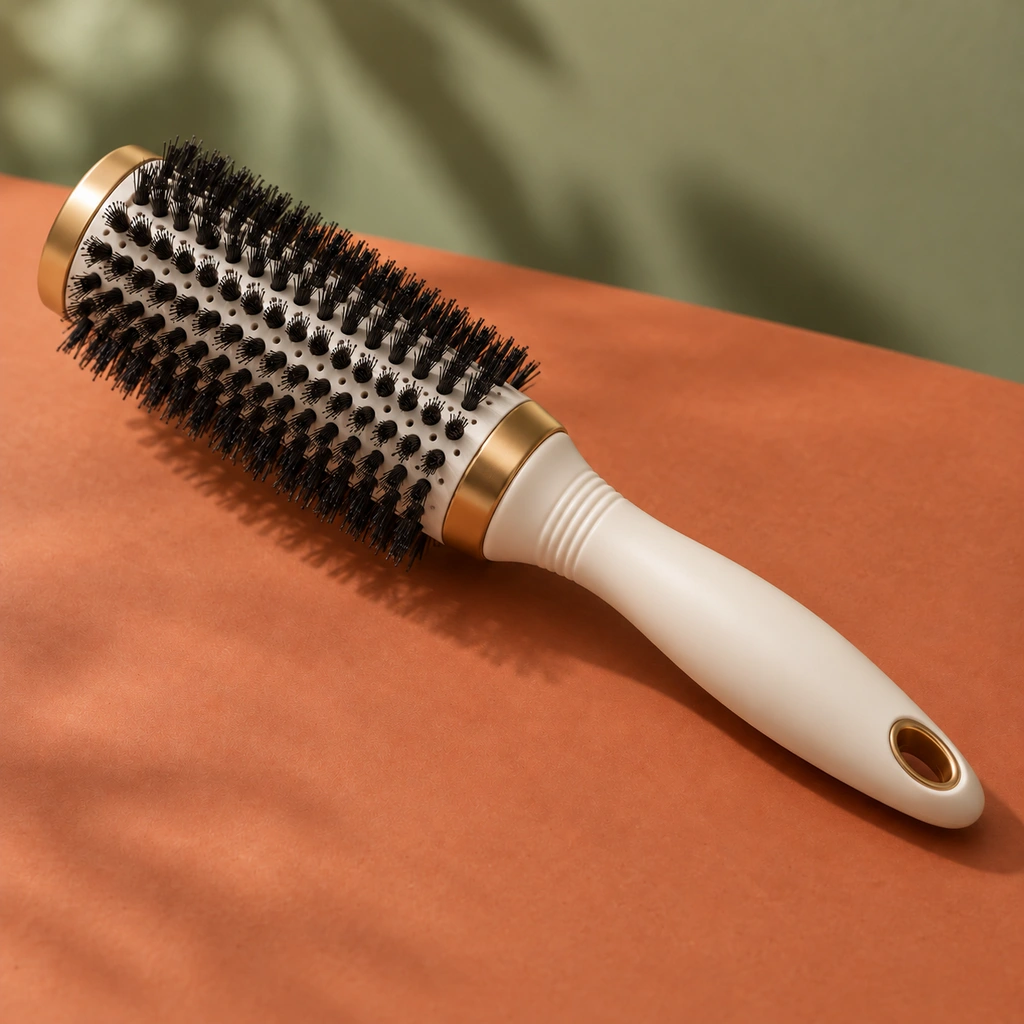
AIMIKE NaturaVol manual round brush, 1.7-inch barrel
What to check
Similar manual vented round brush, used with a separate dryer; it is not an electrical blow-dry brush. The selected barrel is 1.7 inches, about 2.5 inches including bristles, intended for shoulder-length to long hair. The generic illustration also uses white and gold; it does not establish the actual brand or barrel dimensions. Keep a hot barrel away from skin. Review feedback includes some durability concerns; inspect the brush before use.
-
Aussie Instant Freeze sculpting gel, three 7 fl oz tubes
What to check
Optional strong-hold gel; this listing is a three-pack of 7 fl oz tubes, not the illustrated jar. Check the finish and hold you want. Neither gel nor cream creates a new natural curl pattern; manufacturer performance claims are not our test results.
-
Aussie Miracle Moist conditioner with avocado and jojoba oil, 26.2 fl oz
What to check
Similar everyday rinse-out conditioner, applied in the shower and rinsed. It is not a mask or a leave-in. Moisture wording is the manufacturer’s claim; follow the label’s amount and timing.
-
Kitsch rice-water shampoo bar, 3.5 oz
What to check
Similar solid cleansing bar, not proof of the pictured bar’s formula or brand. Follow its current ingredient and washing directions, and allow the bar to drain between uses. The listing markets growth/repair benefits; these are not independently tested or promised here. Reviews differ on dryness, fragrance and how long a bar lasts.
-
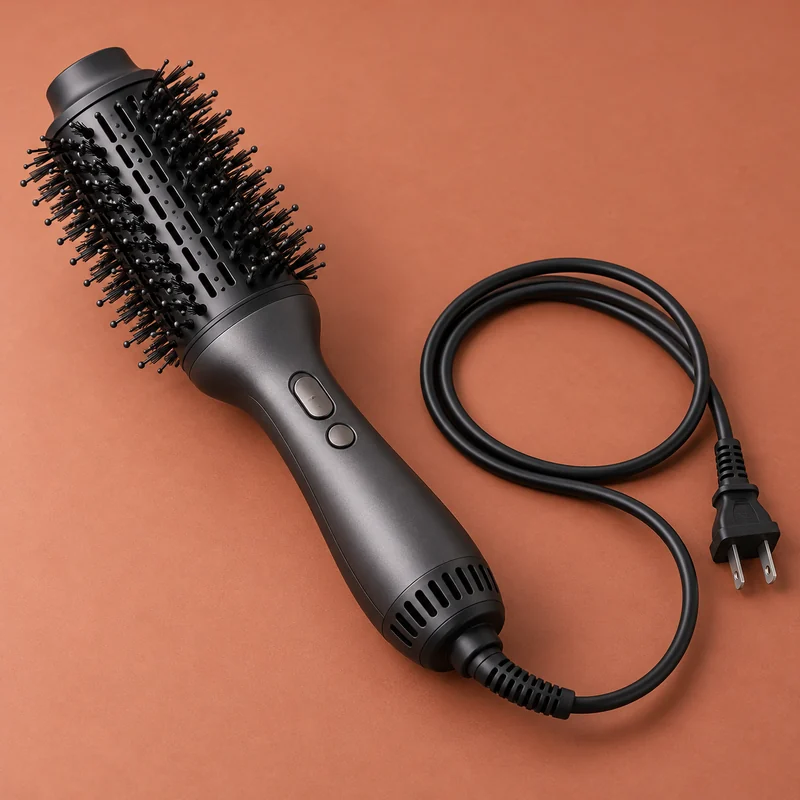
REVLON One-Step Volumizer Plus, black 2.4-inch oval brush
What to check
Similar hot-air brush with a 2.4-inch oval head; it is not a round manual brush or a clamp iron. Listed as 120 V. Compare head size with your length and follow the manufacturer instructions for damp-to-dry use; check local electrical compatibility. Its own head detaches for storage; the complete appliance is linked, not a universal replacement head. Do not fit the pictured unbranded attachment to this appliance.
Show all 9 pieces
-
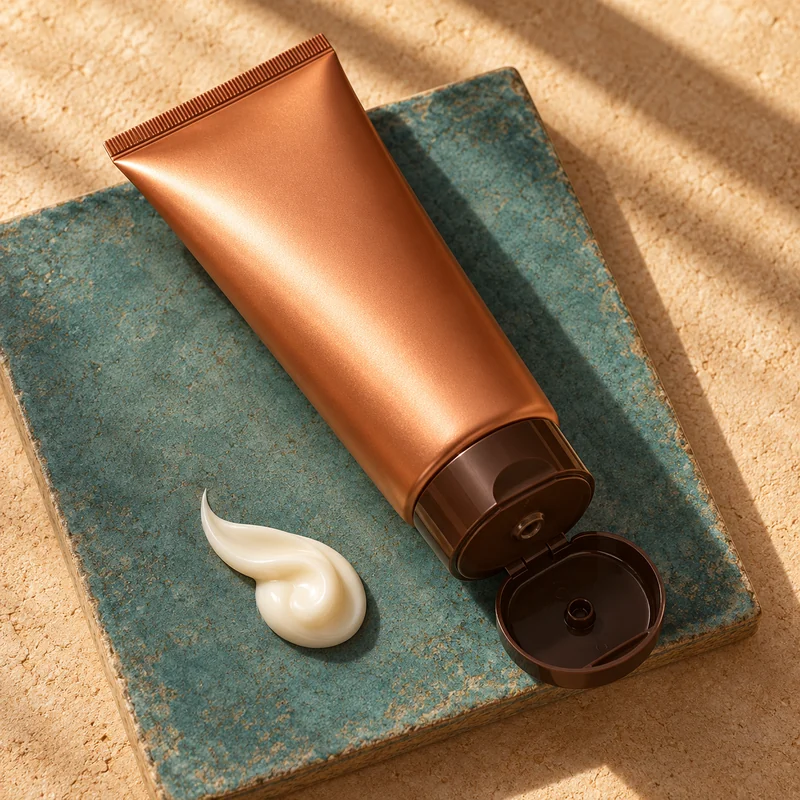
VERB Hydrate Styling Cream
What to check
Optional light-hold cream for a smoother layered finish, used on dry or damp hair per the product directions. The illustrated tube is not VERB packaging. Compare the formula with your hair needs.
Keep exploring
Related guides
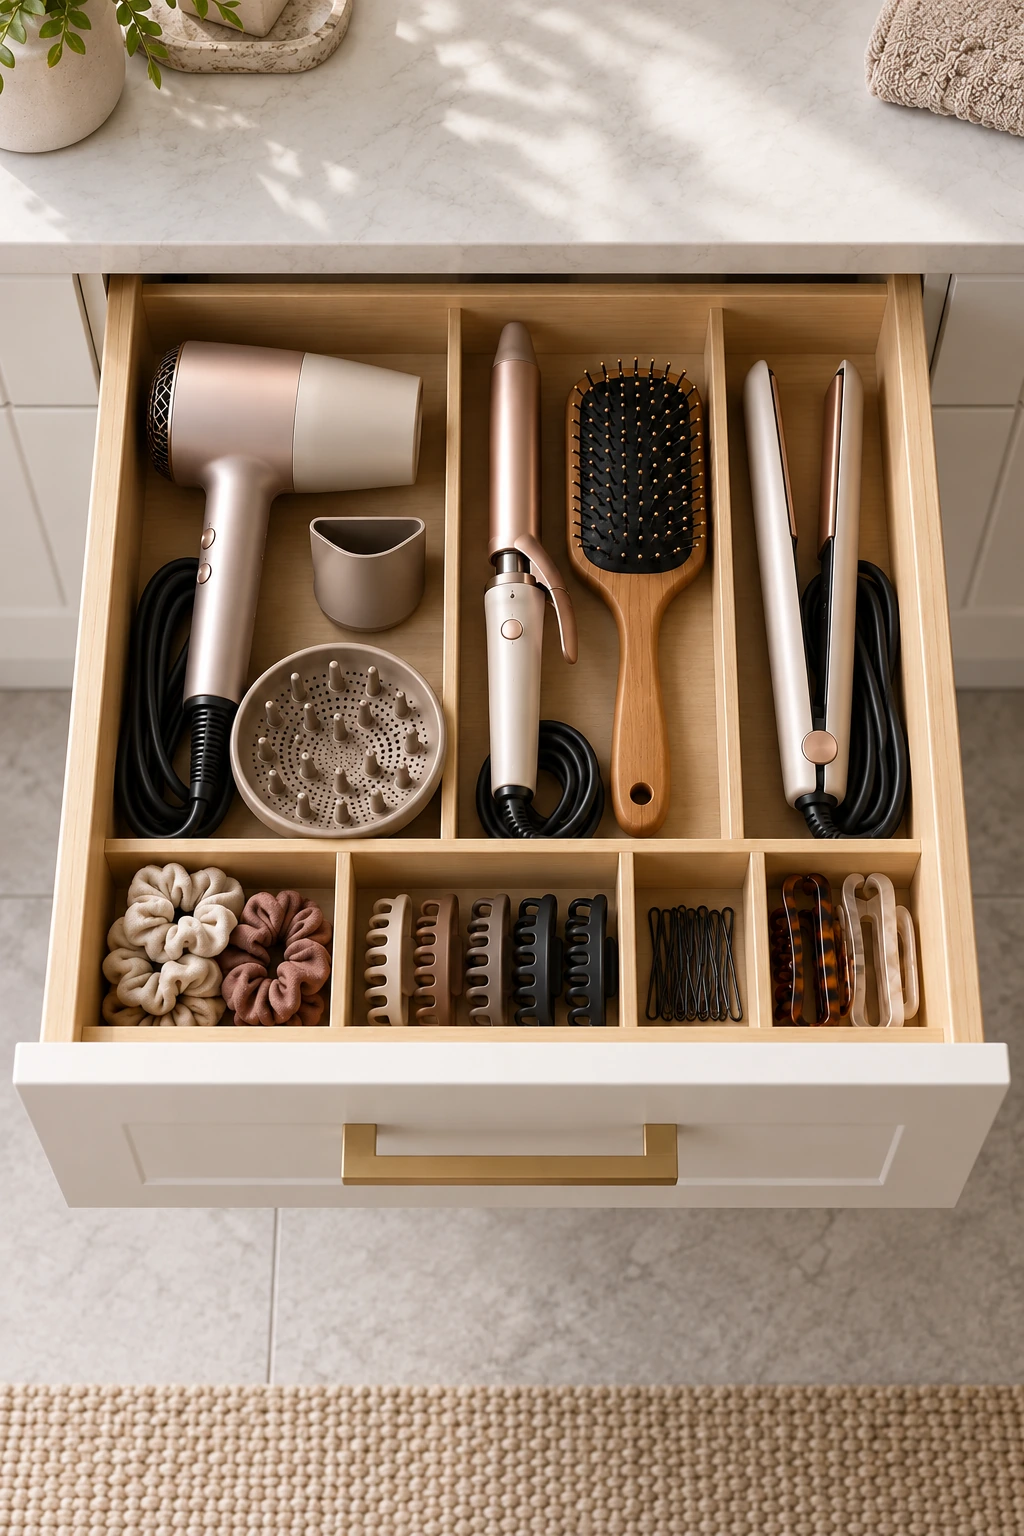 Tools & products
While learning braided hairstyles requires basic manual dexterity and physical practice, having the right tail combs and sectioning tools can make parting the hair cleanly much easier than using your fingers alone.
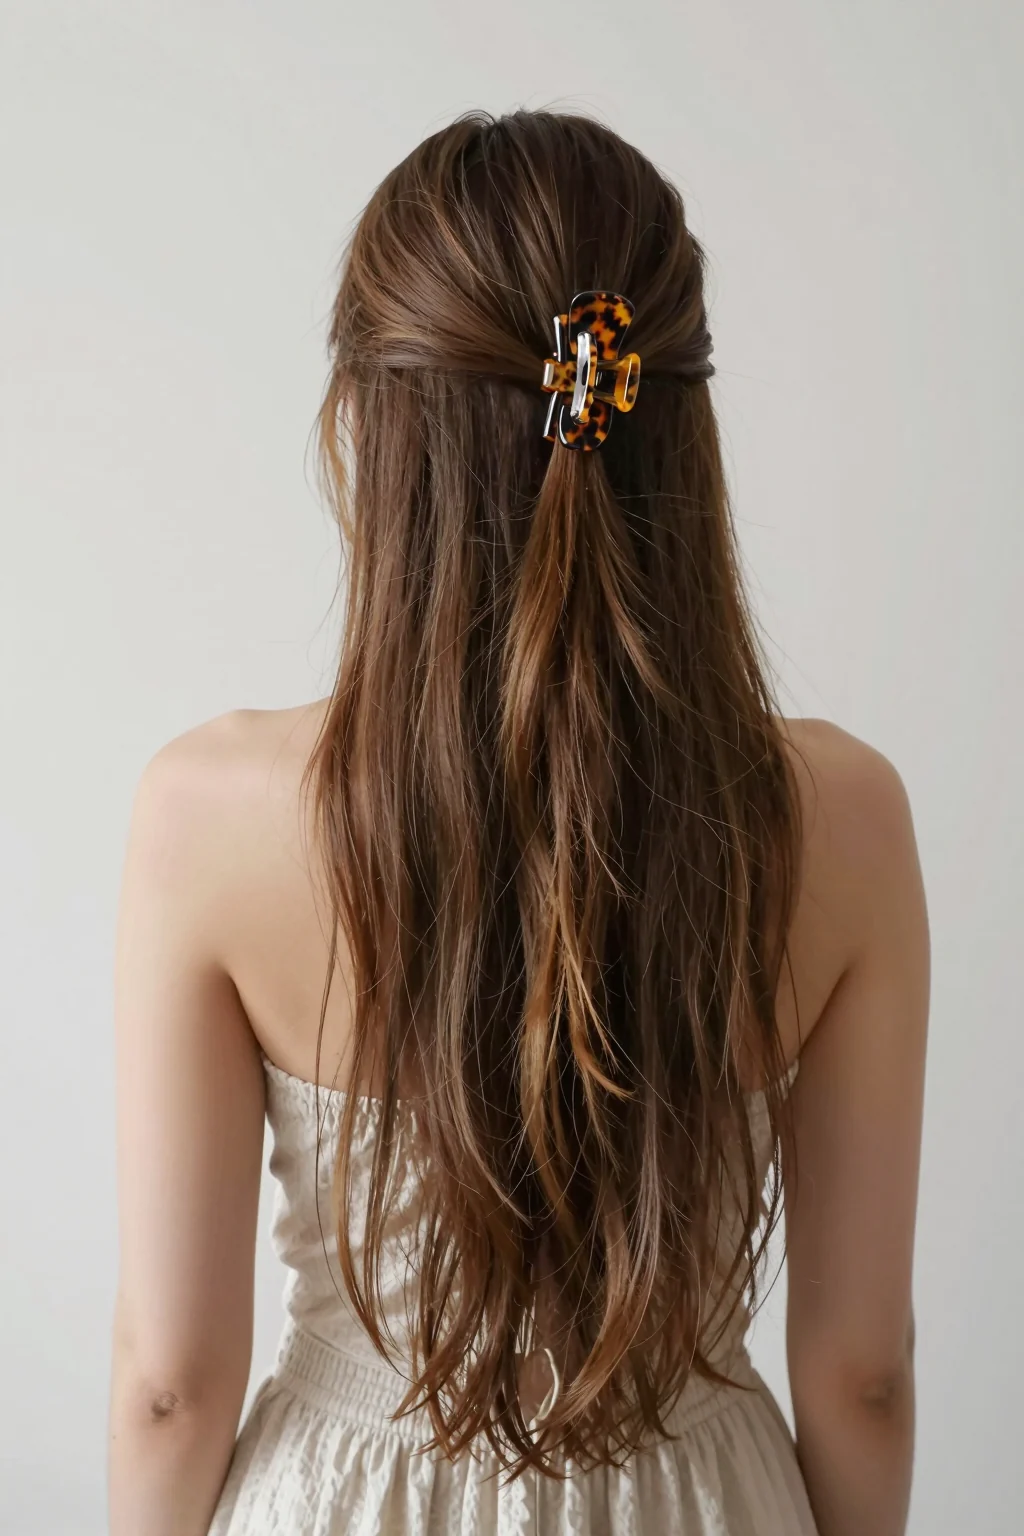 Clips & accessories
Braided hairstyles serve as a functional foundation, whereas decorative accessories like claw clips, ribbons, and statement pins are added afterward to embellish the finished look.
Questions
Why do my braids always look messy and uneven when I try them?
Uneven braids are often caused by inconsistent section sizes and fluctuating hand tension. When you pull one strand tighter than the others, it can distort the entire pattern downstream. Focus on grabbing similar amounts of hair with each pass and keep your hands close to the head as you work. Practice on a ponytail first to help eliminate the variable of slipping hair while your fingers learn consistent spacing.
What is the difference between a French braid and a Dutch braid?
The primary difference is the direction of the cross. In a French braid, you cross the outer strands over the middle strand, which makes the braid lie flat and partially hidden beneath the top hair surface. In a Dutch braid, you cross the outer strands underneath the middle strand, which causes the braid to stand up and pop out in a three-dimensional, inverted effect.
Can I braid short hair or do I need long hair?
You can braid short hair, though the technique and style choices change. Short hair often works best with multiple small Dutch braids, crown braids, or accent braids that anchor close to the scalp, because short strands may have trouble spanning the length of a traditional single side braid without poking out of the weave. If your hair is very short, using a small amount of styling gel or mousse may help secure shorter layers before you start.
How do I stop my hair from slipping out of my fingers while braiding?
Hair slipperiness can come from freshly washed hair or lack of natural texture. Working a lightweight texturizing spray, dry shampoo, or styling mousse through your dry hair before you begin braiding can add friction. Holding the sections firmly near your palm rather than just your fingertips may also give you better control over slippery strands.
Generated references, not tested products. How shopping links work.