Hair ideas / Tools & products
How to use a diffuser on curly hair without disrupting curls
A diffuser dries curly hair faster than air drying while reducing frizz, but only if you control the airflow direction, heat level and how much you move the hair around during drying.
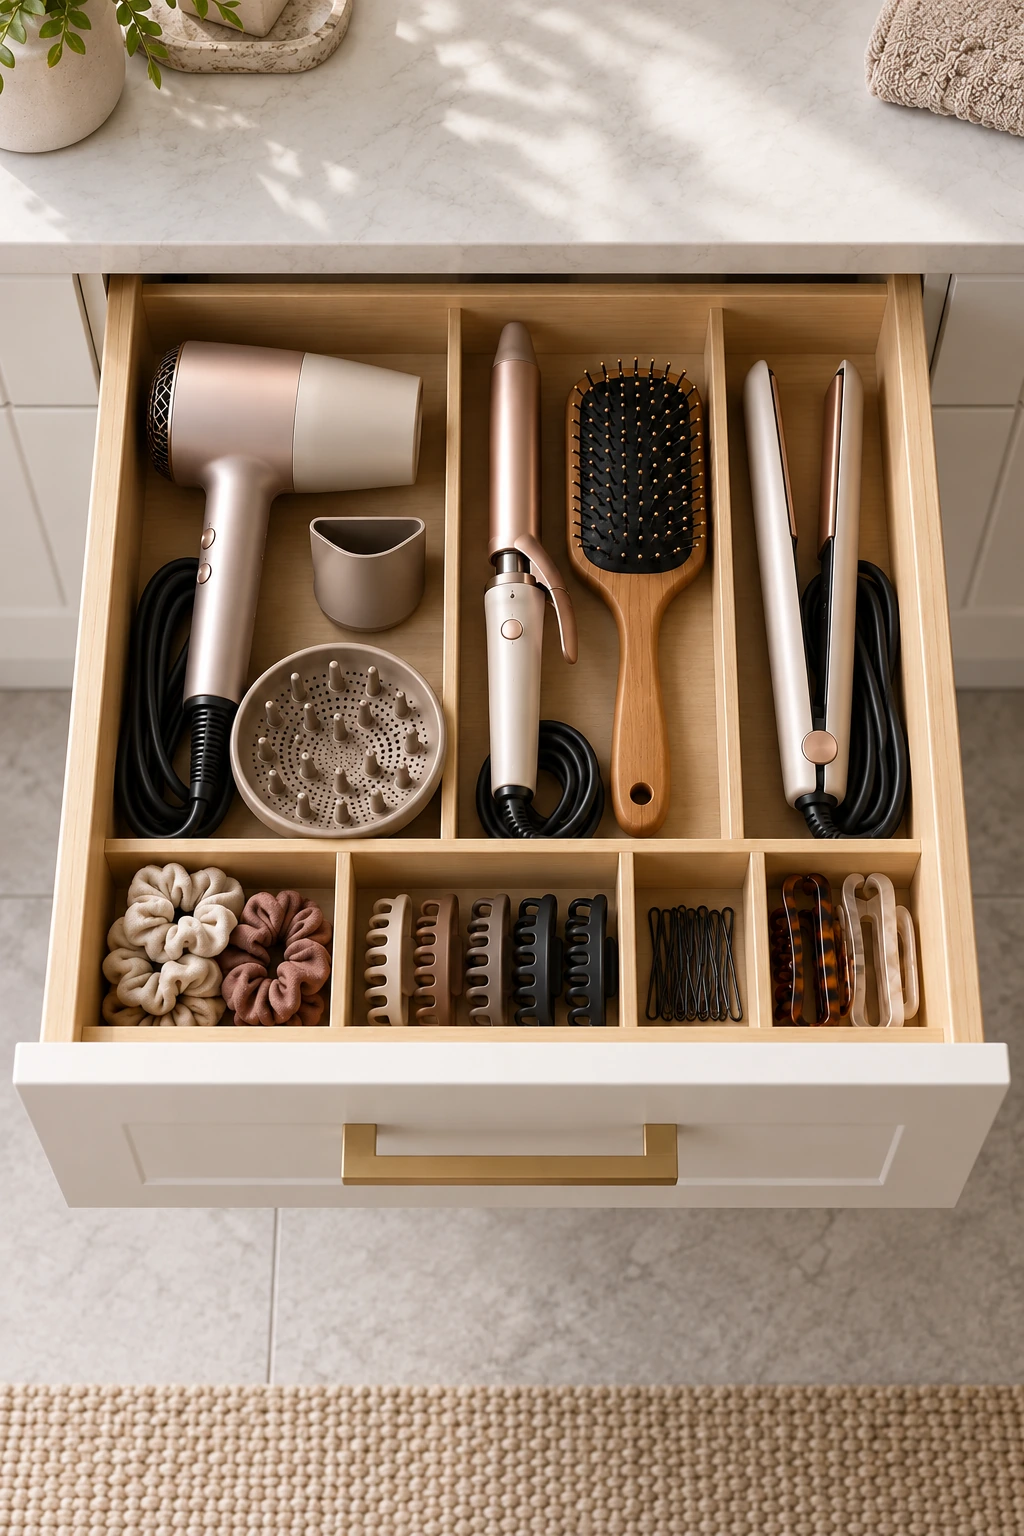
Three rules
Start here.
- Use low or medium heat and low to medium airflow to dry curly hair gently without causing frizz or heat damage.
- Hover the diffuser around sections without touching the hair, or cup curls gently into the diffuser bowl and hold for 20 to 30 seconds before moving to the next section.
- Avoid scrunching, moving or touching the hair while it is drying, because mid-dry manipulation disrupts the curl pattern and creates frizz.
A styling reference, not a product photo.
What defines it
The basics
A diffuser is a bowl-shaped attachment that fits on the end of a blow dryer and spreads the airflow over a wider area. It is designed specifically for curly and wavy hair because it dries the hair without disrupting the curl pattern the way a concentrated dryer nozzle would. The diffuser reduces frizz, speeds up drying time, and can add volume at the roots if used correctly. It does not create curls on straight hair, but it preserves and enhances existing curl structure.
What makes a diffuser work on curly hair is how you use it, not just the attachment itself. You need to use low or medium heat, hover the diffuser around sections or cup curls gently into the bowl without touching them too much, and avoid moving the hair around or scrunching it while it is drying. If you use high heat, blow the air directly at the hair, or constantly move and scrunch the curls, you will create frizz and loosen the curl pattern. The goal is to dry the hair as gently as possible while keeping the curls intact.
This is not the same as using a regular blow dryer nozzle, which concentrates the airflow and blows curls apart. It also differs from air drying, which takes much longer and can leave the hair feeling heavy or limp at the roots. A diffuser sits between the two: faster than air drying, gentler than a concentrated dryer.
Repeatable combinations
Formulas to try
- Hovering method
- Hold the diffuser a few inches away from your head and hover it around sections of hair, moving slowly from roots to ends. Do not touch the hair with the diffuser. This method works well for looser curls and waves and minimizes frizz. Dry each section for 20 to 30 seconds, then move to the next section. Continue until the hair is about 80 percent dry, then let it air dry the rest of the way.
- Cupping or pixie diffusing method
- Lean forward and cup a section of curls into the diffuser bowl, lifting it toward your scalp. Hold the diffuser in place for 20 to 30 seconds without moving it, then release and move to the next section. This method adds volume at the roots and works well for tighter curls. Avoid pressing the diffuser too hard against your head, which can flatten the roots.
- Root-focused drying
- If your roots dry slowly or feel heavy, focus the diffuser at the scalp by lifting sections of hair and directing the airflow at the roots. Use your fingers to lift the hair gently without disturbing the curl pattern. This speeds up root drying and adds volume. Once the roots are dry, hover the diffuser around the lengths or let them air dry.
- Cool shot finish
- After drying the hair to about 80 percent dry with low or medium heat, switch to the cool shot setting and diffuse for another minute or two. The cool air helps set the curls and reduces frizz. This step is optional but can make the curls hold their shape longer.
- Sectioning for thick or long hair
- If your hair is thick or long, divide it into four to six sections and clip the sections you are not drying yet. Diffuse one section at a time, starting at the back or the sections that dry slowest. This ensures even drying and prevents some sections from staying wet while others overdry.
Your needs, your plans
Before you buy
- Heat and airflow settings
- High heat and high airflow create frizz and disrupt curls, so start with low or medium heat and low to medium airflow. If your dryer has a separate heat and speed control, use low heat and medium speed, or medium heat and low speed. Test the heat on your hand before pointing it at your hair — if it feels too hot to hold your hand under comfortably, it is too hot for your hair. Some dryers have a diffuser-specific setting that automatically adjusts heat and speed.
- Drying time and patience
- Diffusing curly hair takes 15 to 30 minutes depending on thickness, length and density. It is faster than air drying but still requires patience. If you rush and use high heat or constantly move the diffuser, you will create frizz. Move slowly from section to section, and resist the urge to scrunch or touch the hair while it is drying. If you are short on time, diffuse for 10 to 15 minutes to remove most of the water, then let the hair air dry the rest of the way.
- Product application before diffusing
- Apply styling products like curl cream, gel or mousse to soaking-wet hair before diffusing, not after. The diffuser locks in whatever product and curl pattern you start with, so if you apply product to damp hair or skip it entirely, the results will not be as defined. Use the praying hands or rake-and-shake method to apply product evenly, then begin diffusing without touching the hair further.
- Diffuser attachment compatibility
- Not all diffusers fit all blow dryers. Some dryers come with a diffuser attachment, while others require you to buy a universal diffuser separately. Check the diameter of your dryer nozzle and the diffuser opening to make sure they fit. A loose diffuser can fall off during use or let air escape, which reduces effectiveness. If your dryer did not come with a diffuser, look for a universal model with adjustable sizing.
From what you own
Build it and repeat it
Start by applying your styling products to soaking-wet hair, then gently squeeze out excess water with a microfiber towel or t-shirt without disrupting the curls. Attach the diffuser to your blow dryer and set it to low or medium heat and low to medium airflow. If you are new to diffusing, start with the hovering method: hold the diffuser a few inches away from your head and move it slowly around sections without touching the hair. Dry each section for 20 to 30 seconds, then move to the next section.
Once you are comfortable with hovering, try the cupping method for more volume and definition. Lean forward and cup a section of curls into the diffuser bowl, lift it toward your scalp, and hold for 20 to 30 seconds without moving. Release and move to the next section. Continue until the hair is about 80 percent dry — it should feel slightly damp but not dripping. Let it air dry the rest of the way, or use the cool shot setting to finish. Do not touch or scrunch the hair until it is completely dry. If you touch it while it is damp, you will create frizz.
Shop the pieces
12 tools & products pieces
Links open similar items, not the pictured ones.
-
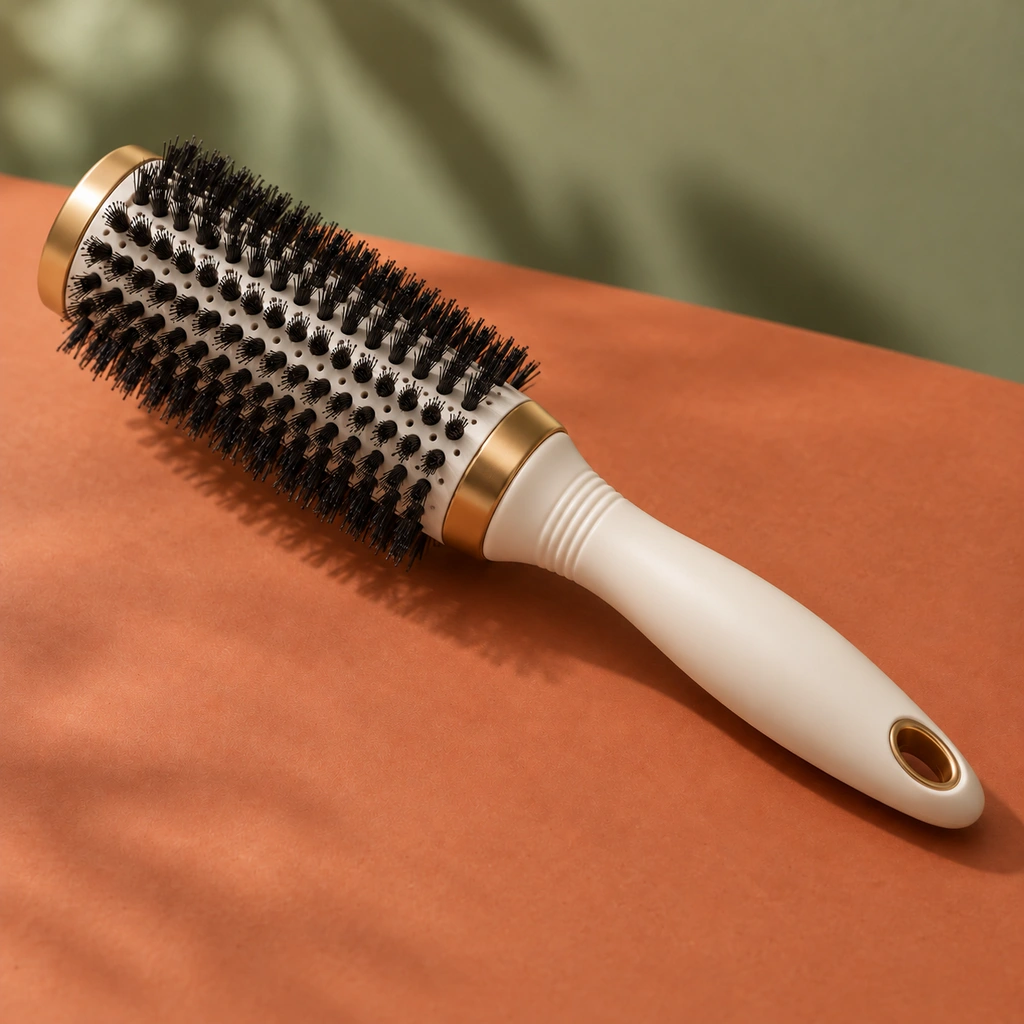
AIMIKE NaturaVol manual round brush, 1.7-inch barrel
What to check
Similar manual vented round brush, used with a separate dryer; it is not an electrical blow-dry brush. The selected barrel is 1.7 inches, about 2.5 inches including bristles, intended for shoulder-length to long hair. The generic illustration also uses white and gold; it does not establish the actual brand or barrel dimensions. Keep a hot barrel away from skin. Review feedback includes some durability concerns; inspect the brush before use.
-
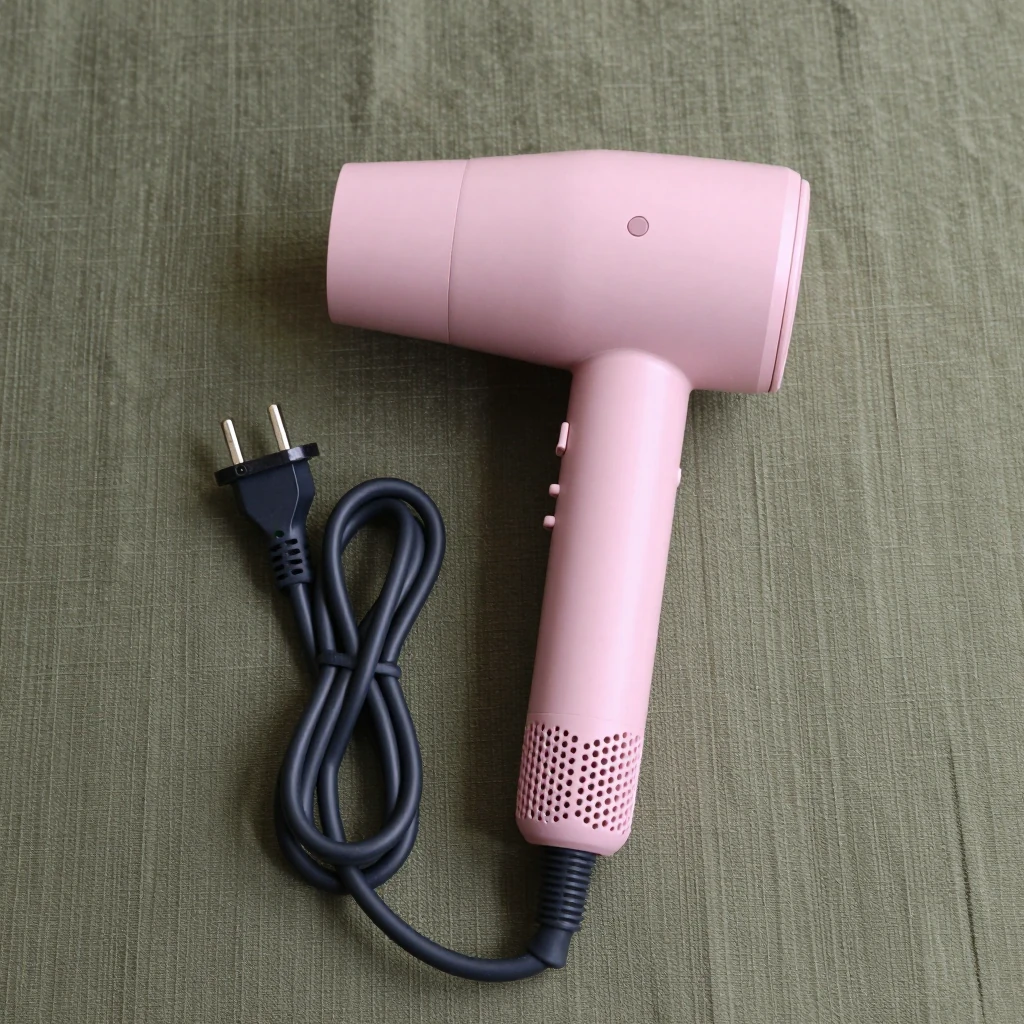
AINA pink dryer with diffuser and concentrator, 110 V edition
What to check
Similar pink dryer supplied with its own concentrator, finger diffuser and comb attachment. The selected listing is the 110 V edition; check the appliance label and your local electrical supply. This is not a dual-voltage claim. The square item illustration shows a pink dryer only; its shape and plug do not establish the actual appliance or electrical compatibility. Included attachments are matched to this dryer, not promised to fit another brand.
-
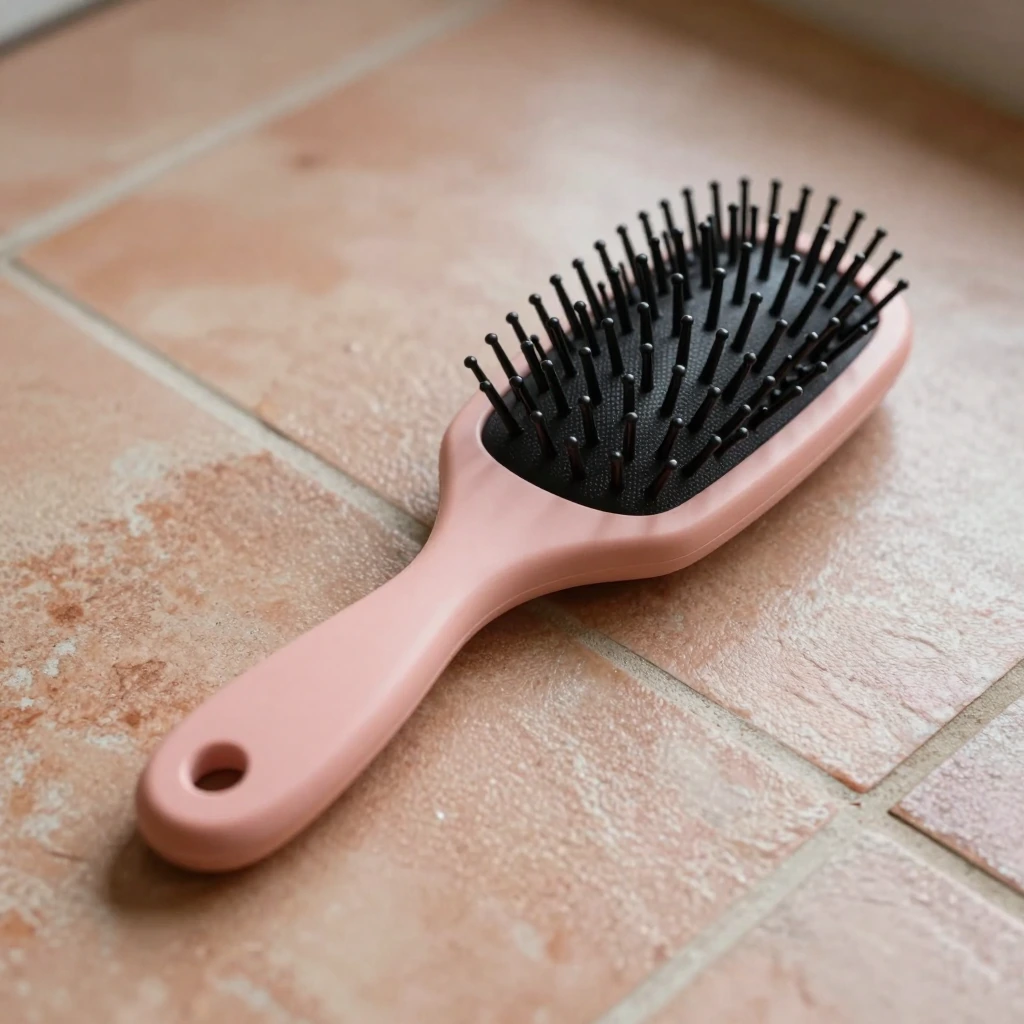
Wet Brush Original Detangler, Pink Frost
What to check
Similar cushioned detangling brush in Pink Frost, with an oval head rather than the broad illustrated paddle. Choose for gentle section-by-section detangling; it is not a heated styling tool or automatically suitable for every wig fiber. Follow the brush and hairpiece directions. Some review feedback concerns durability.
-
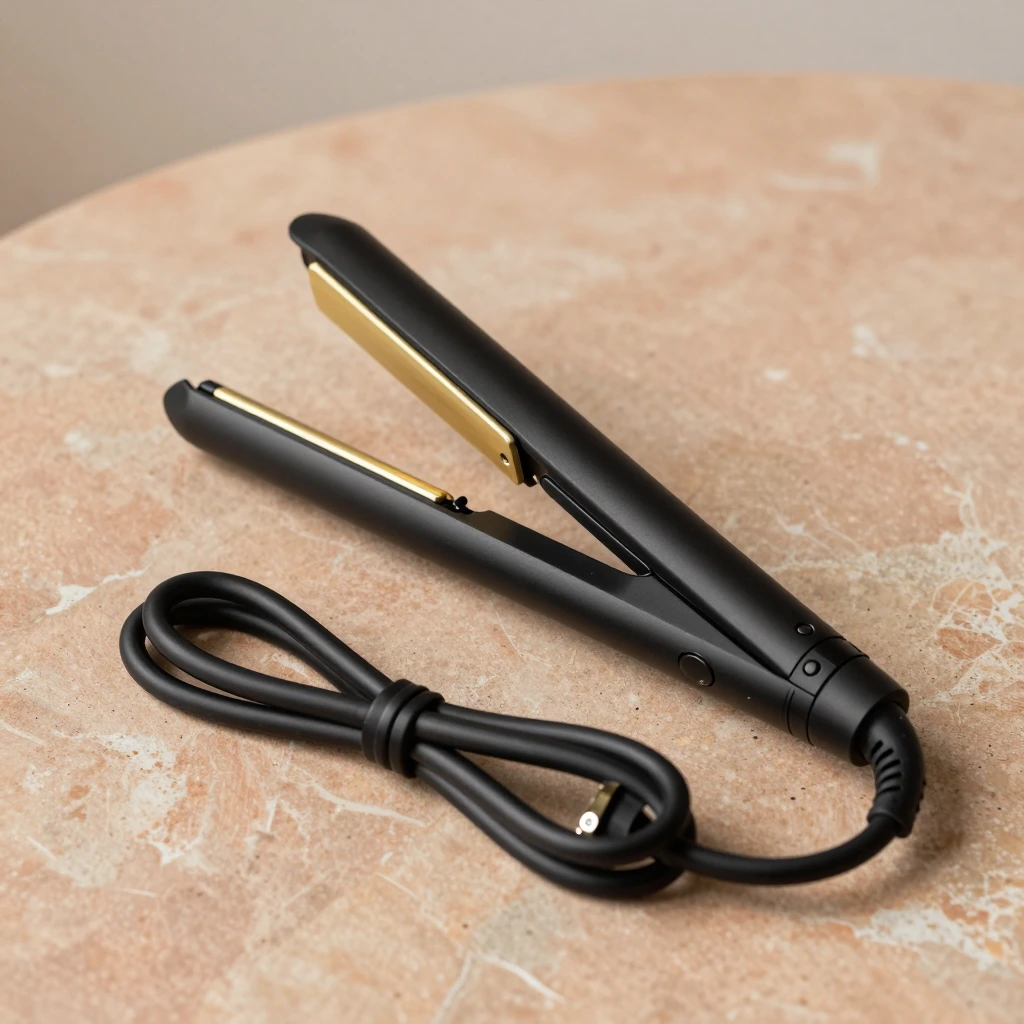
Remington Pearl Pro ceramic flat iron, 1 inch
What to check
Similar black-and-white flat iron with one-inch plates; it is not the unbranded black-and-gold item illustration or the burgundy tool in some scenes. Listing identifies 120 V. Use only as the current instructions allow, on dry hair, and check your electrical supply. Some reviews report durability issues; no heat-damage prevention or result guarantee is made.
-
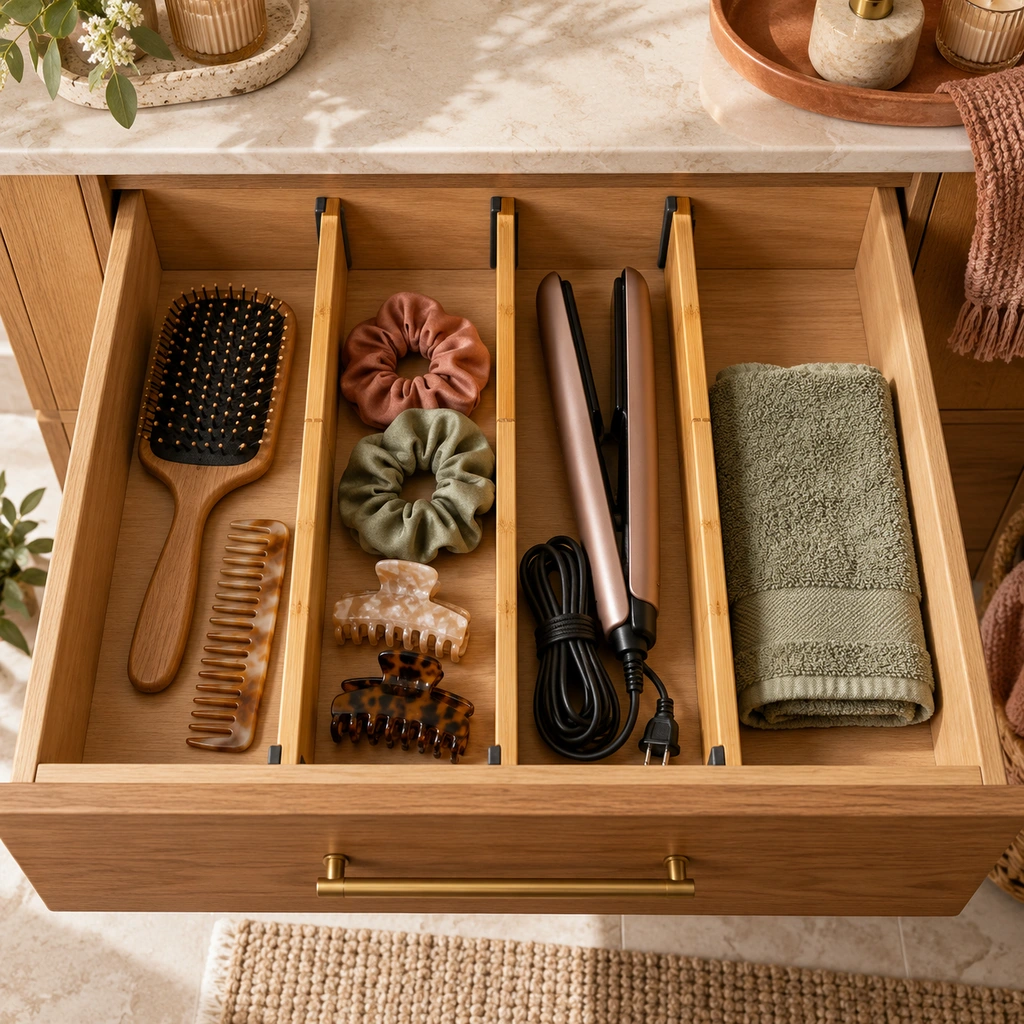
VaeFae adjustable bamboo drawer dividers, 3 pack (16.6–21.8 in)
What to check
Similar adjustable bamboo dividers, three per pack like the illustrated drawer. This set is 4 inches high and fits drawer interiors 16.6–21.8 inches long; measure inside your drawer first. Store heated tools only after following their cooling instructions.
-
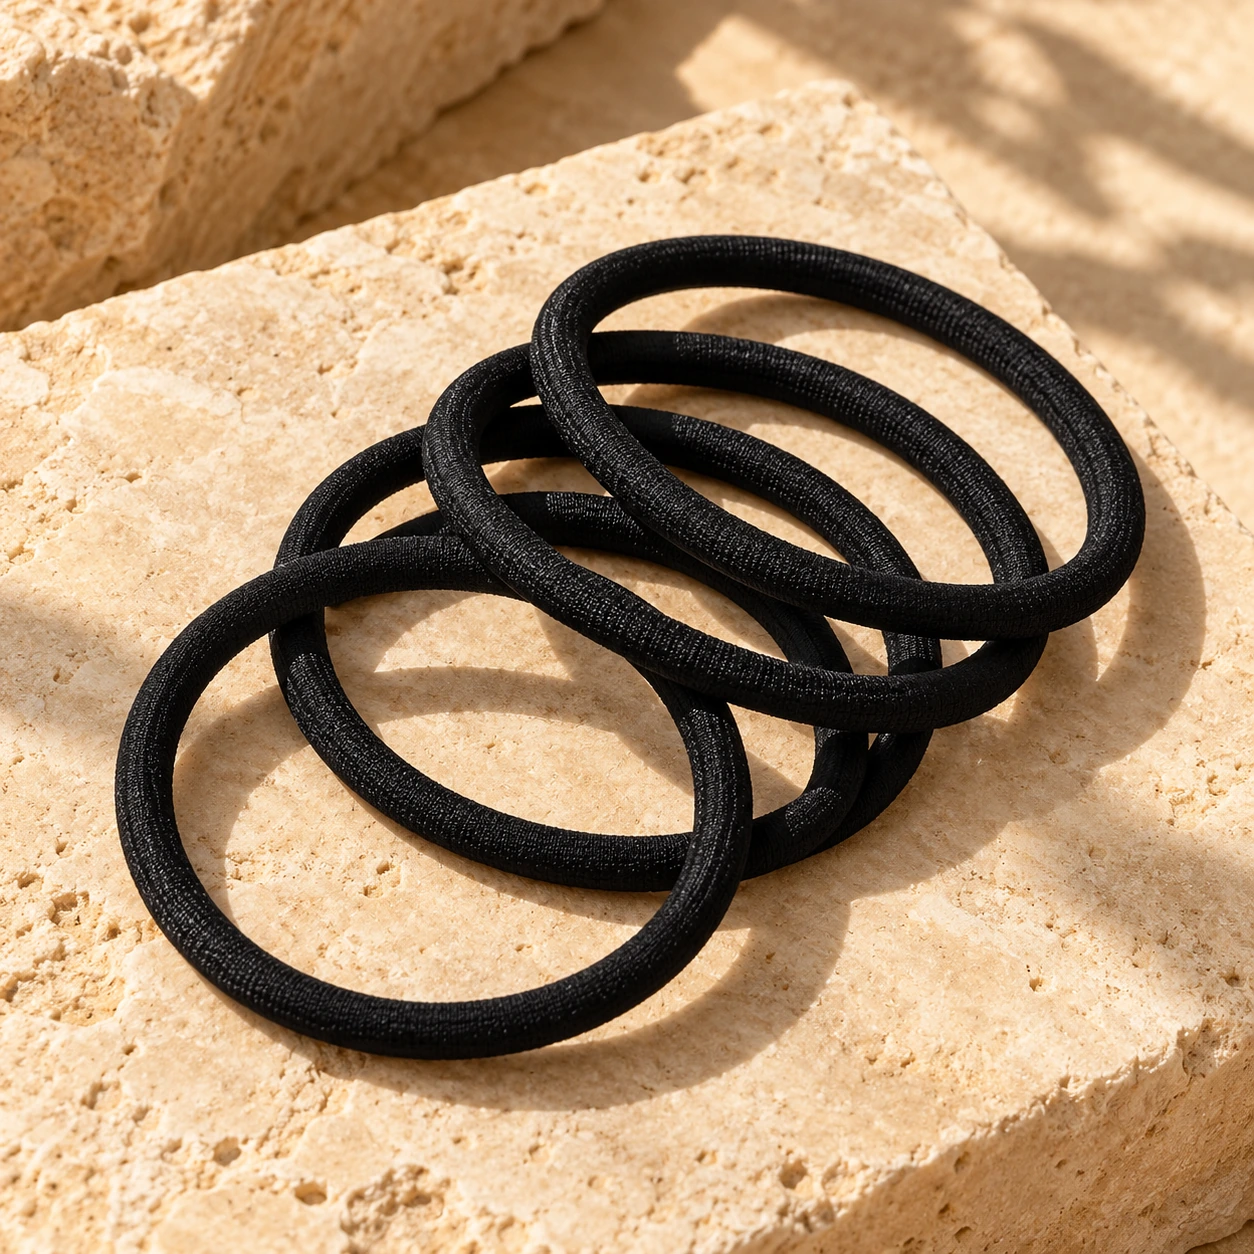
Goody Ouchless black 4 mm hair ties, 30 count
What to check
Similar black elastic ties for ponytails and hidden bun fastenings. No metal closure; 4 mm thickness. The reference does not identify a brand or prove that this is its hidden fastening.
-
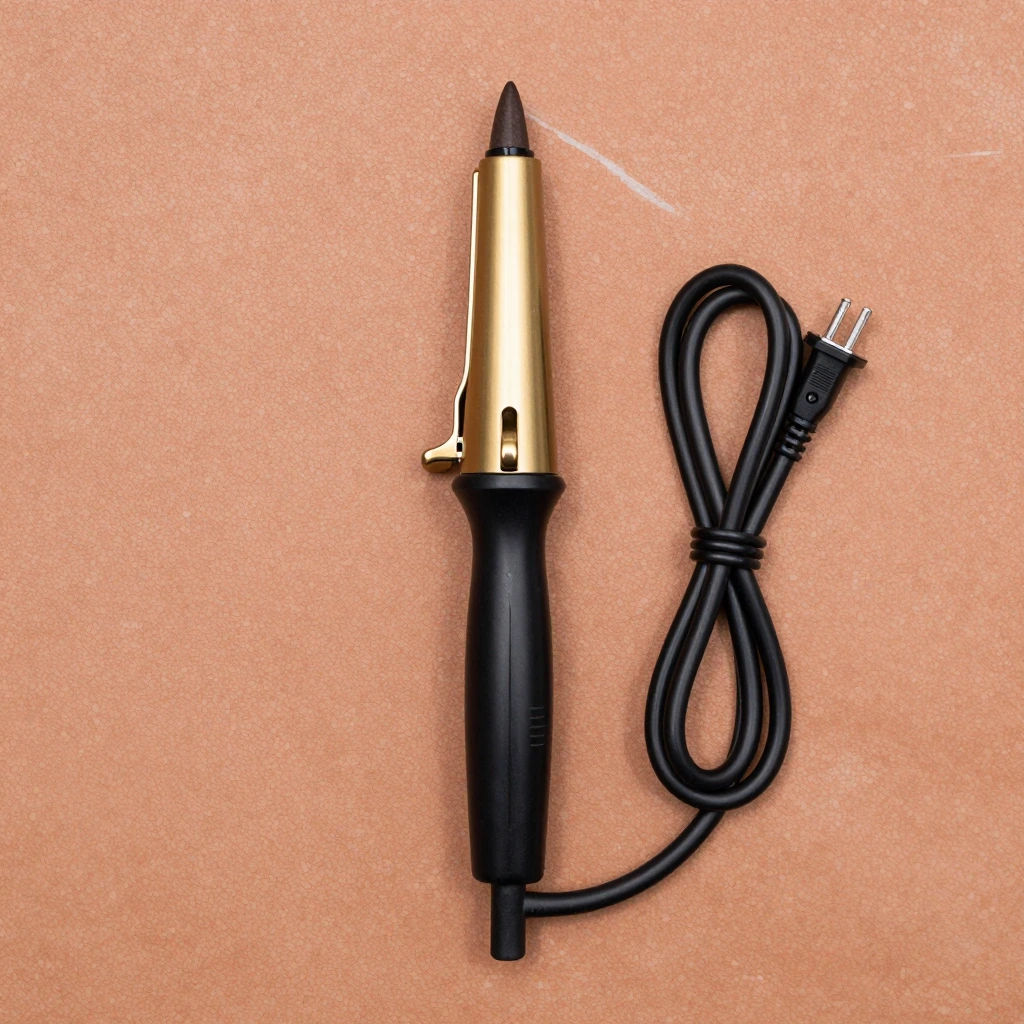
Hot Tools Pro Artist Black Gold 1-inch clamp curling iron
What to check
Similar clamp-iron mechanism; black/gold rather than the burgundy illustration. The linked barrel is 1 inch, so it is not an exact size match for every curl reference. Check barrel size, voltage and the manufacturer instructions before use; no heat setting or result is prescribed here.
-
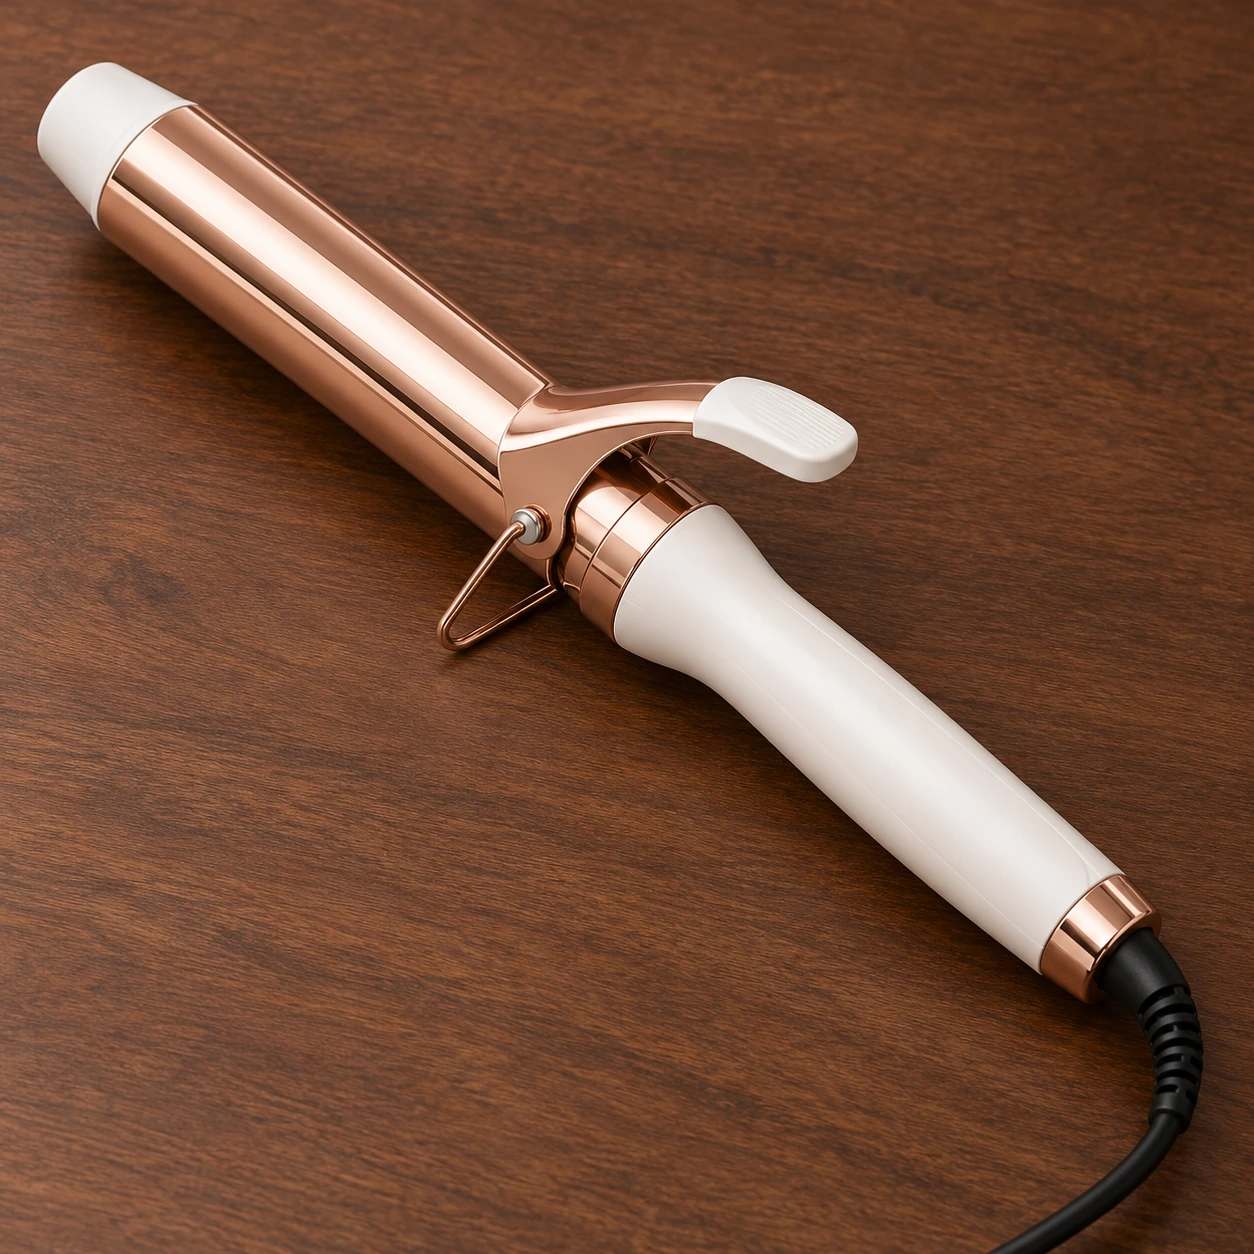
Conair Double Ceramic 1½-inch clamp curling iron, White/Rose Gold
What to check
Similar large-barrel clamp iron, not the illustrated black/gold tool. White/rose-gold finish, 1½-inch standard barrel and 30 heat settings; check the actual voltage, instructions and temperature for your hair. Use only as directed on dry hair. Recent reviews mention accidentally pressing the on/off controls and heat-control concerns; no styling result is guaranteed.
Show all 12 pieces
-
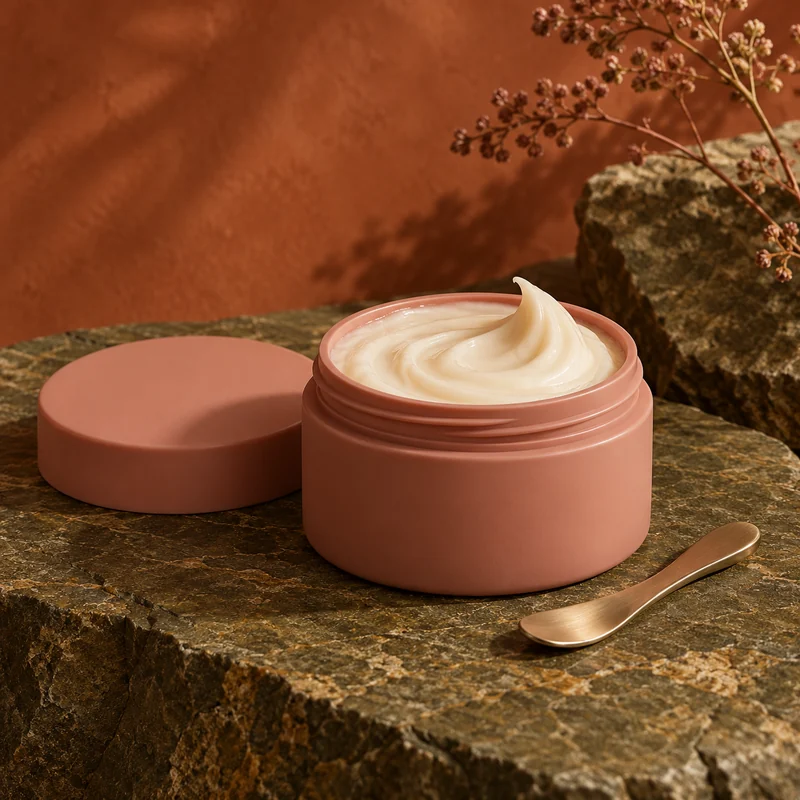
Maui Moisture Curl Quench + Coconut Oil curl smoothie, 12 oz
What to check
Similar leave-in curl cream, not the illustrated jar. Follow the product directions for applying sparingly to damp or dry hair and do not rinse. Compare ingredients and richness with your hair; a cream does not change your natural curl pattern.
-
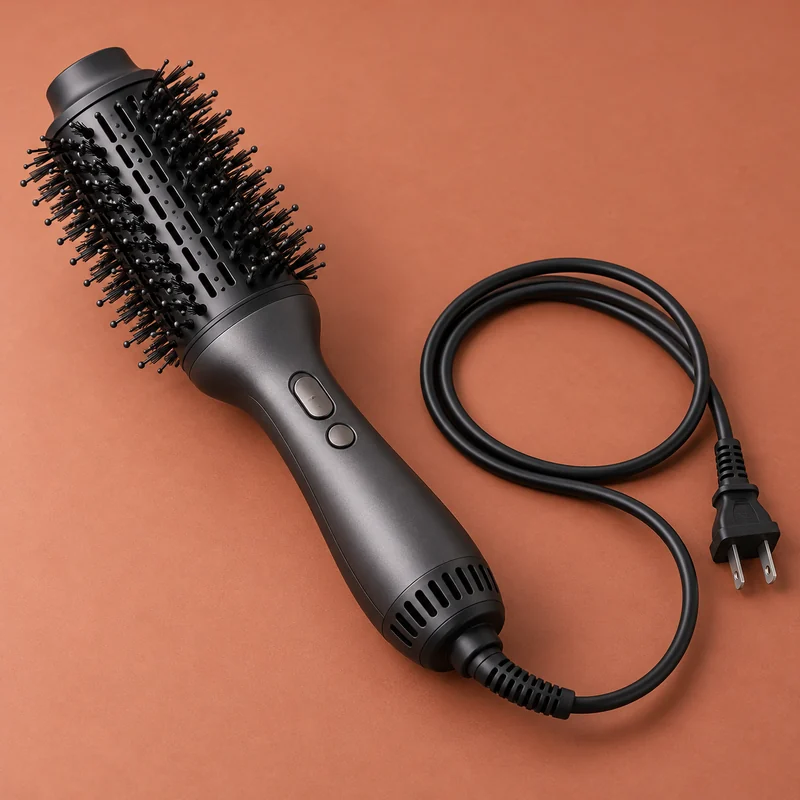
REVLON One-Step Volumizer Plus, black 2.4-inch oval brush
What to check
Similar hot-air brush with a 2.4-inch oval head; it is not a round manual brush or a clamp iron. Listed as 120 V. Compare head size with your length and follow the manufacturer instructions for damp-to-dry use; check local electrical compatibility. Its own head detaches for storage; the complete appliance is linked, not a universal replacement head. Do not fit the pictured unbranded attachment to this appliance.
-
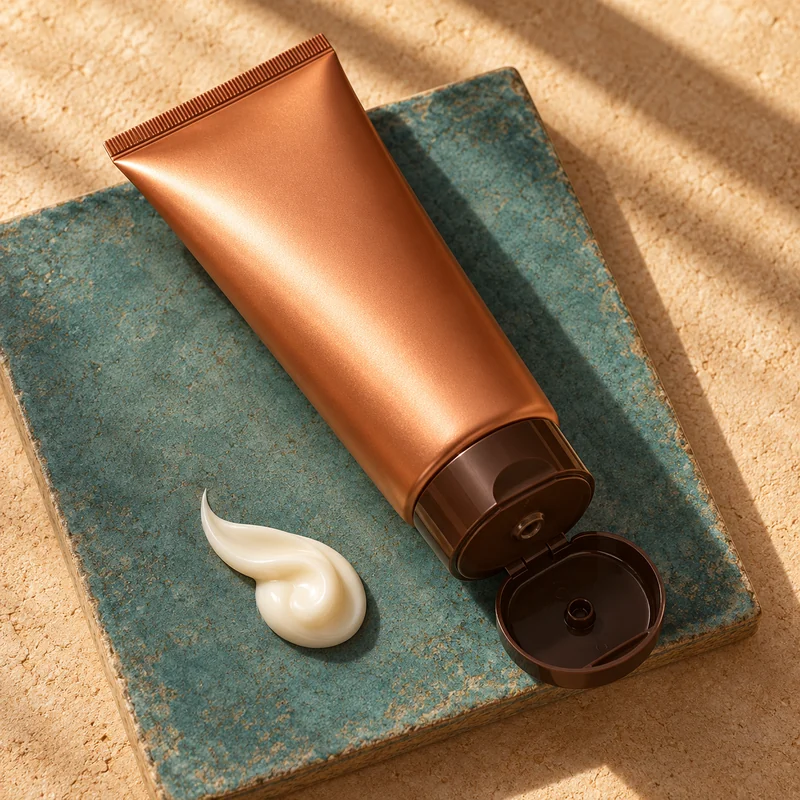
VERB Hydrate Styling Cream
What to check
Optional light-hold cream for a smoother layered finish, used on dry or damp hair per the product directions. The illustrated tube is not VERB packaging. Compare the formula with your hair needs.
-
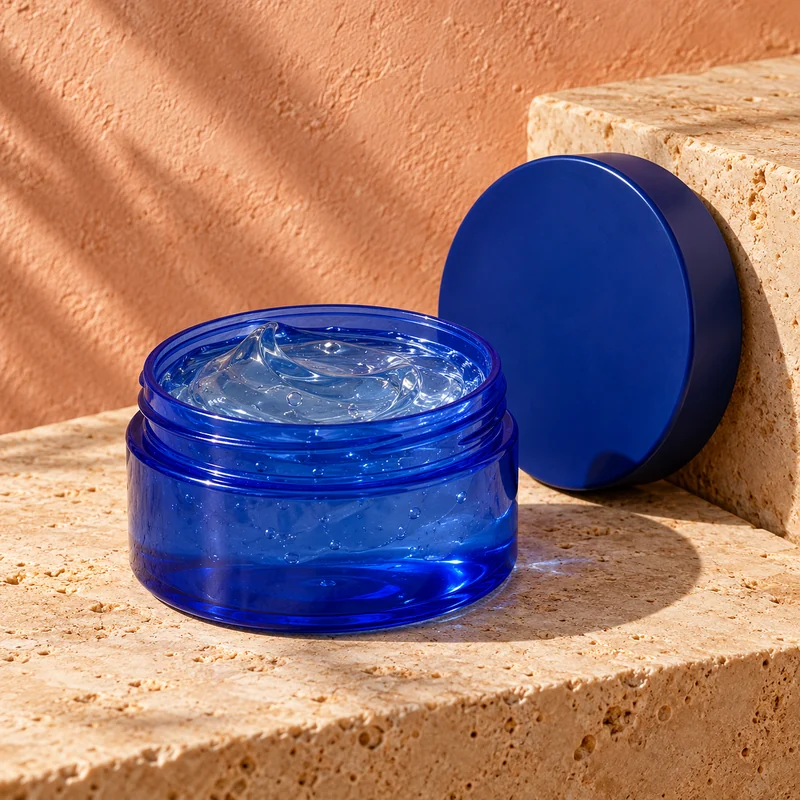
Aussie Instant Freeze sculpting gel, three 7 fl oz tubes
What to check
Optional strong-hold gel; this listing is a three-pack of 7 fl oz tubes, not the illustrated jar. Check the finish and hold you want. Neither gel nor cream creates a new natural curl pattern; manufacturer performance claims are not our test results.
Keep exploring
Related guides
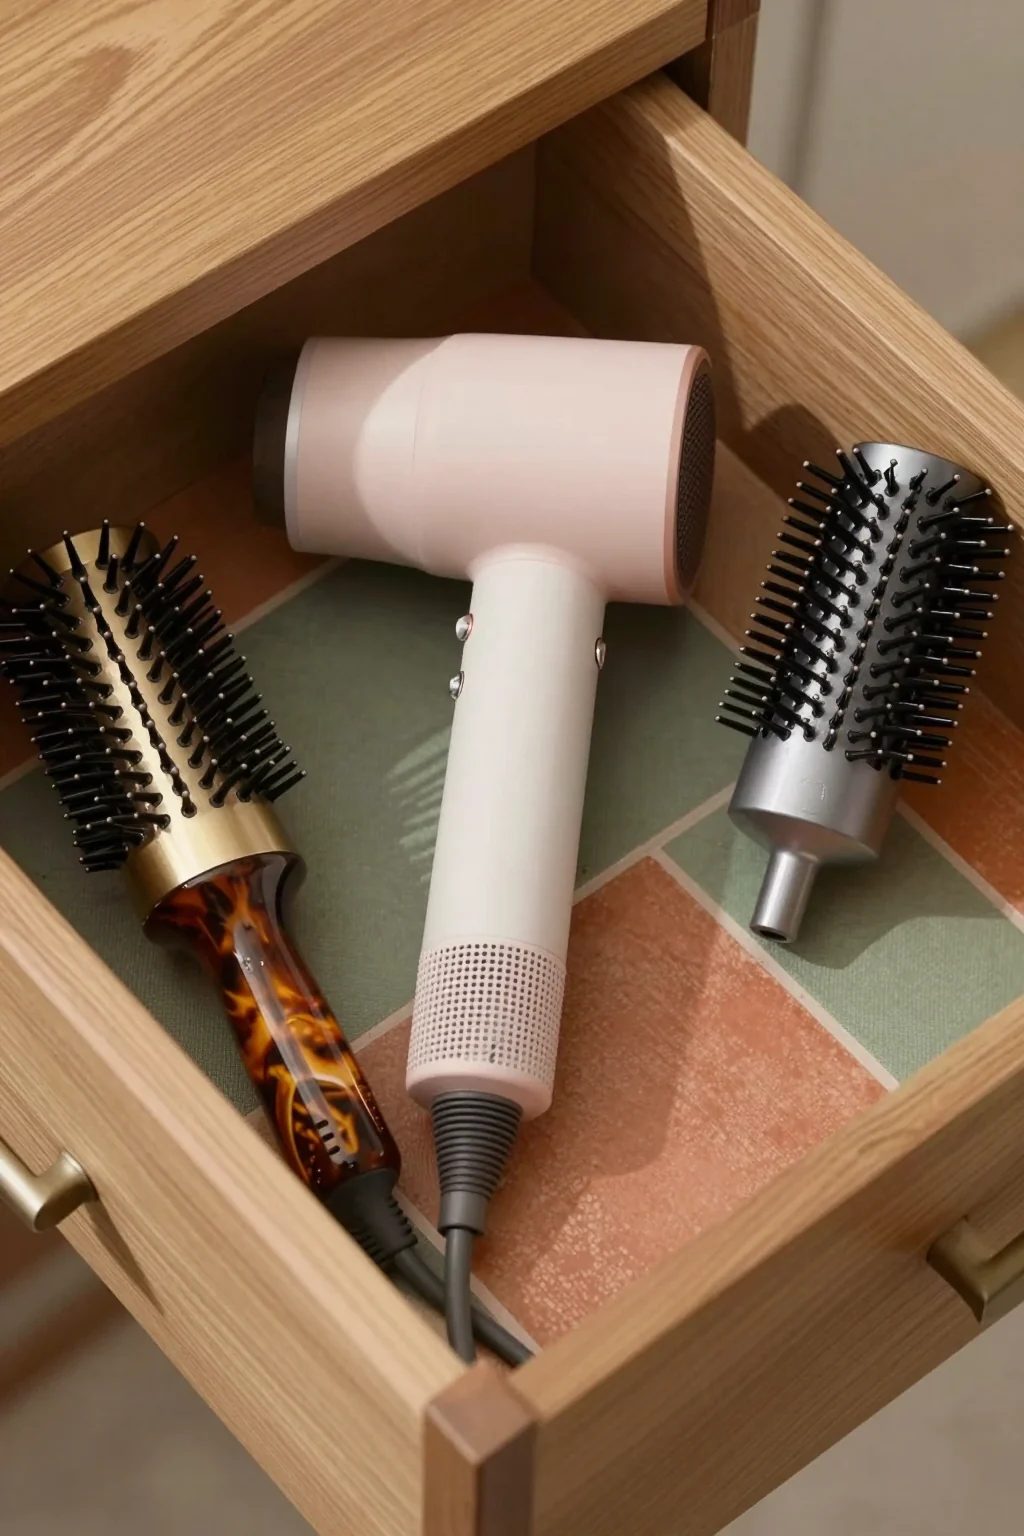 Tools & products
A round brush blowout uses a concentrated dryer nozzle and a round brush to smooth and straighten hair, while a diffuser uses dispersed airflow to dry curly hair without disrupting the curl pattern.
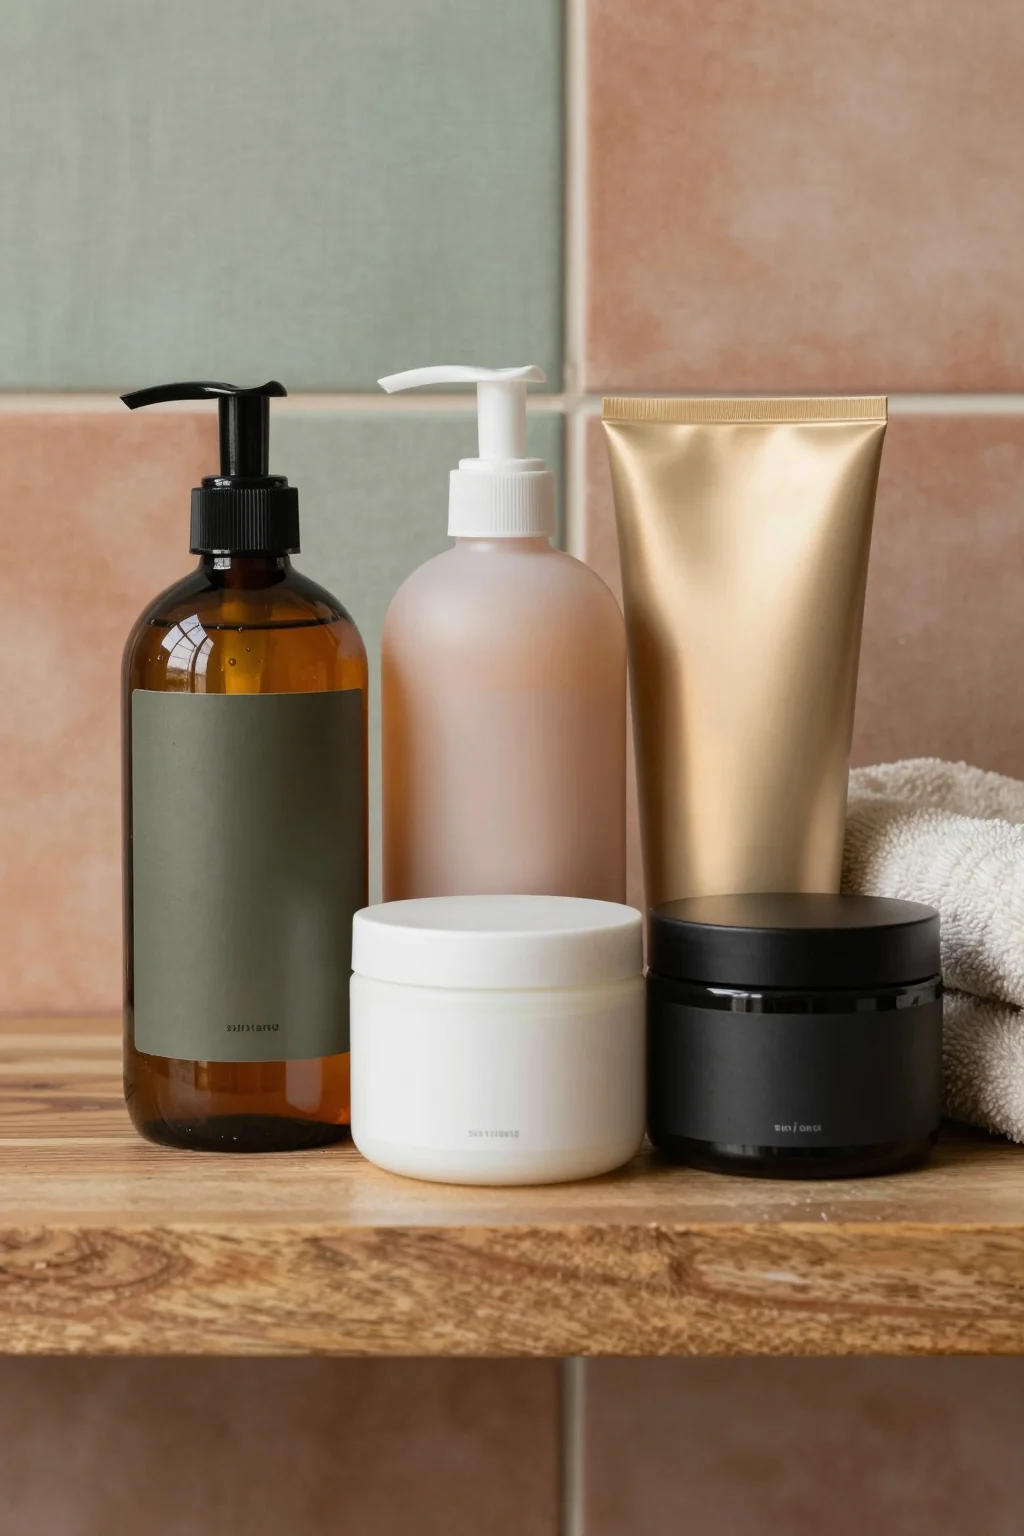 Care & wash day
Curly hair wash day routines involve cleansing, conditioning and applying styling products to soaking-wet hair, while diffusing is the drying method that comes after those steps to speed up drying and reduce frizz.
Questions
Can I use a diffuser on straight hair?
A diffuser does not create curls on naturally straight hair. It is designed to preserve and enhance existing curl patterns by dispersing airflow and reducing frizz. If your hair is straight, a regular blow dryer nozzle or air drying will work better. If you want to add texture or waves to straight hair, use a curling iron, flat iron or heatless curl method instead.
Should I diffuse curly hair on high or low heat?
Use low or medium heat to avoid frizz and heat damage. High heat disrupts the curl pattern and can make curly hair dry and brittle. If your dryer has separate heat and speed controls, use low heat with medium speed, or medium heat with low speed. Test the heat on your hand first — if it feels too hot to hold comfortably, it is too hot for your hair.
How long should I diffuse curly hair?
Diffuse until the hair is about 80 percent dry, which usually takes 15 to 30 minutes depending on thickness, length and density. Dry each section for 20 to 30 seconds before moving to the next section. Once the hair is mostly dry, let it air dry the rest of the way or use the cool shot setting to finish. Overdrying with heat can cause frizz and dryness.
Why does my hair get frizzy when I use a diffuser?
Frizz from diffusing usually comes from using high heat, moving the diffuser around too much, or touching and scrunching the hair while it is drying. Use low or medium heat, hover or cup the diffuser gently without constantly moving it, and avoid touching the hair until it is completely dry. Also make sure you applied styling products to soaking-wet hair before diffusing, as product on damp hair does not hold as well.
Generated references, not tested products. How shopping links work.